2019, here I am!
There will be loads of projects this year as usual, and I will try my best to share them on the blog: some projects will be for me, including a huge one which causes me nightmares (and will bring a lot of happiness too!), and some will be for other sewists like me… I’ll come back to that later!
My first project of the year
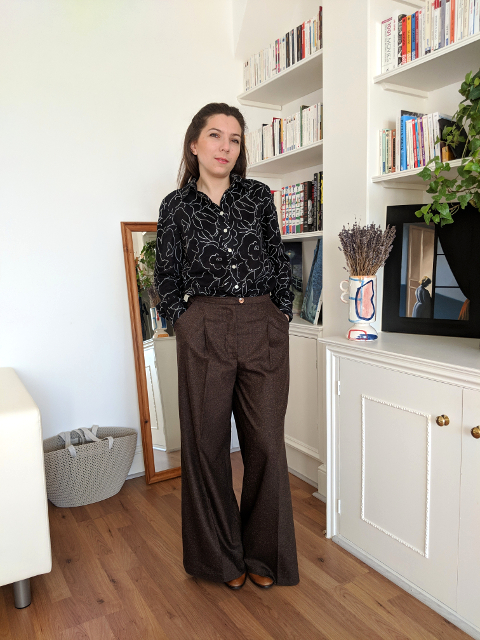
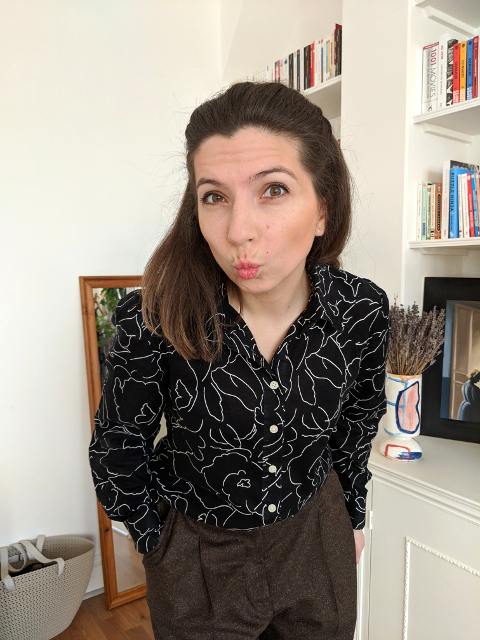
I’m starting the year with a shirt, sewn from the McCall’s, M6436 pattern. Its simple and casual style, yet chic, appealed to me.
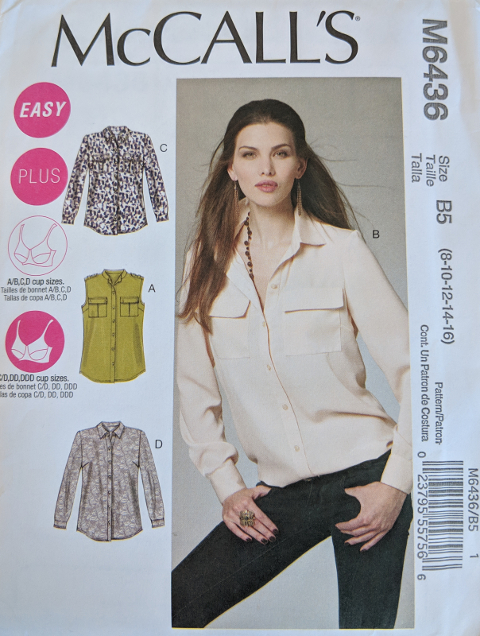
There are two darts on the sides of the front and two darts at the back. Tailored sleeves, in two pieces. You can add pockets but I decided not to, as they would have been invisible with the fabric I chose. I followed the D version.
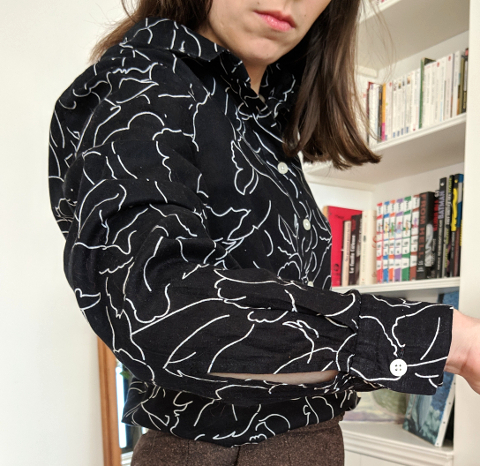
I had to make some amends especially regarding the length of the bodice and sleeves, which didn’t correspond to my measurements.
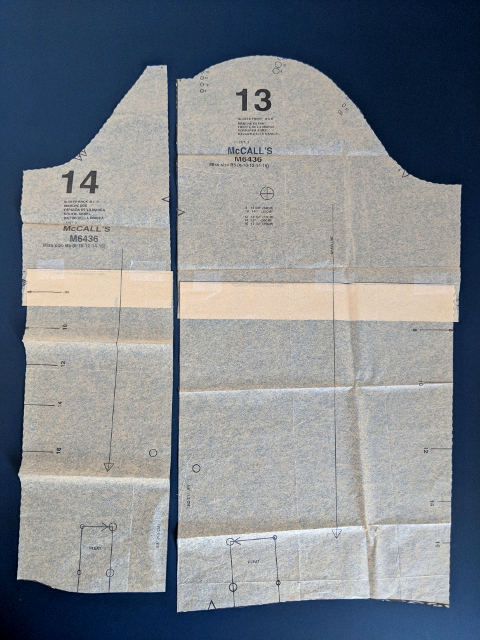
So how to modify the length of a pattern quickly?
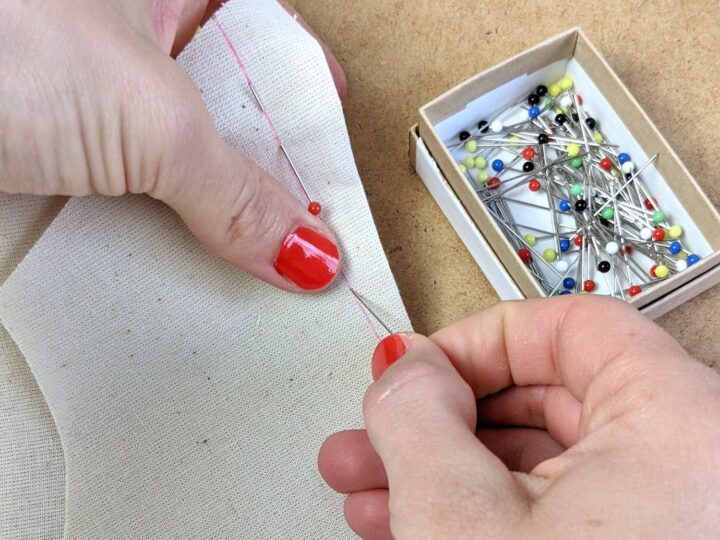
First of all, the most important is to measure yourself at the right locations to compare your measurements to the pattern.
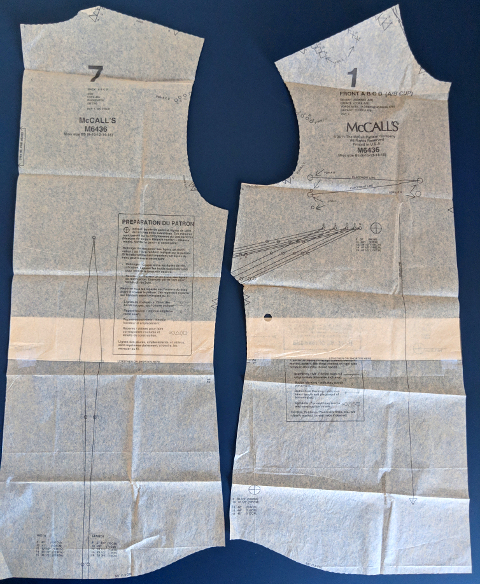
Then, if you look at the pattern pieces, they normally include two close parallel lines at different locations: this is where you will have to shorten or lengthen the pattern.
If the pattern is longer than your measurements:
Reduce the length by folding the pattern around the parallel lines and using some magic tape. You can also cut and stick together, placing one piece on top of the other. Personally I prefer to fold, as I find it quicker. However, be extra careful to fold the length to suppress divided in half, otherwise, you will end up with a very short garment! See below my pattern pieces shortened by folding.
If the pattern is shorter than your measurements:
Add the length by cutting on one of the parallel lines and stick the two cut pieces on a strip of paper, respecting the gap needed.
In both cases, modifying the pattern can make some elements of the pattern not matching any longer, like the darts or the edges of the pattern. You can see on my sleeves, after shortening them, the edges do not match. You will have to redraw the edges, by cutting the excess or on the contrary by adding a strip of paper underneath, depending on the cases.
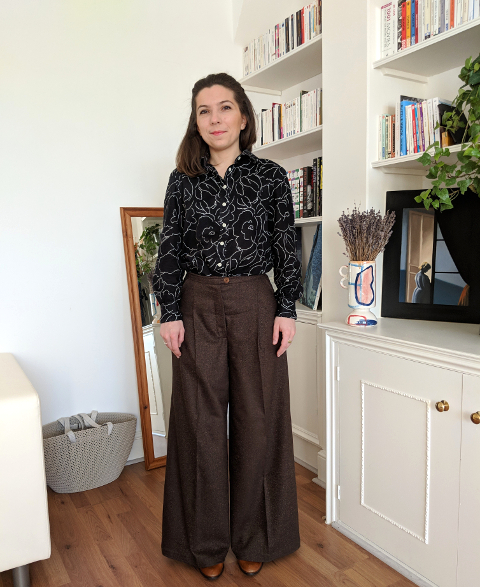
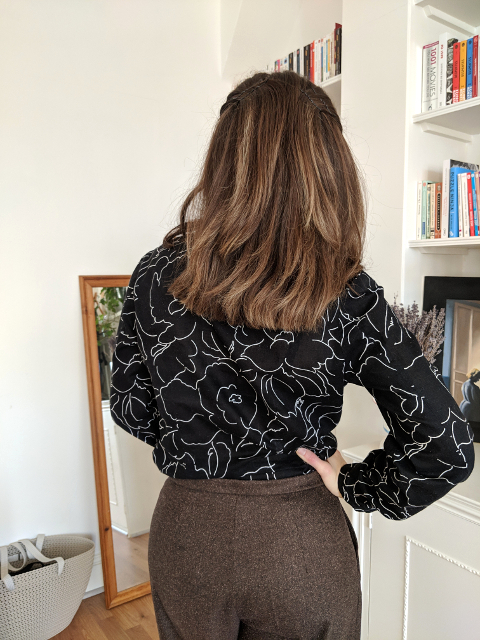
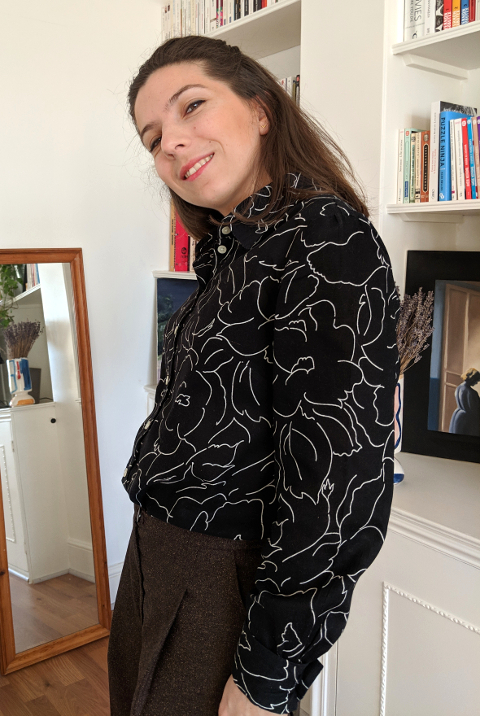
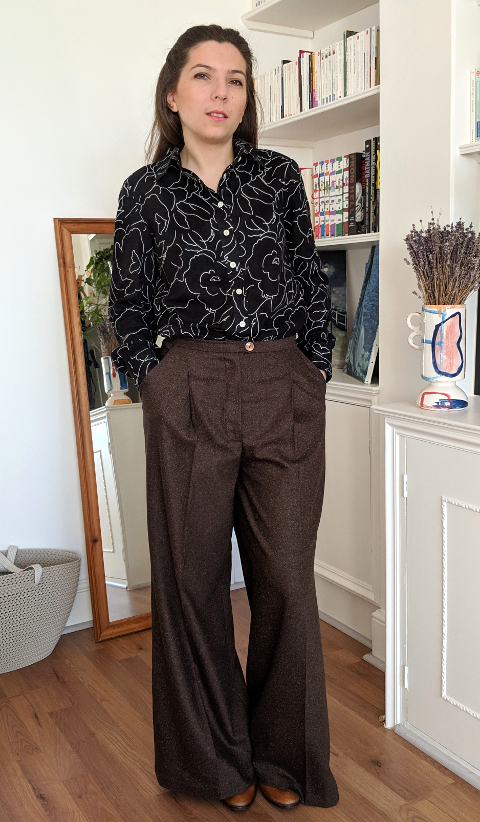
Here are some pictures of the shirt on me, with my 1930s style trousers.

My comments on the result:
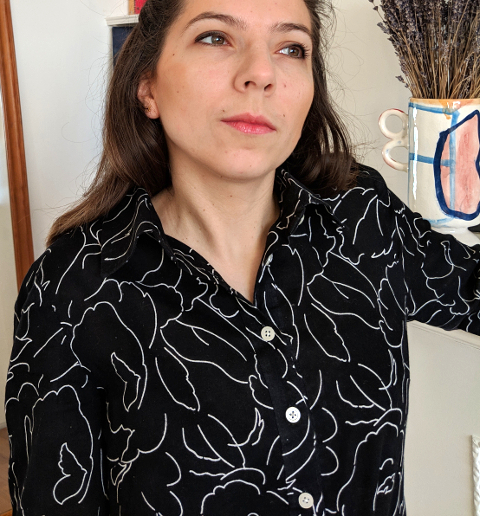
First of all, the fabric is a light cotton I bought in Colombo, Sri Lanka. I love these big flowers which make the fabric simple and understated. Unfortunately, it is a bit stiff, and creases easily. I guessed it when I bought it, but I couldn’t resit the beautiful patterns. Can’t help it! In the end, this is a good souvenir of my trip to Sri Lanka.
I used white interfacing on the collar, button stand and cuffs, and it is slightly noticeable. This was a mistake…I would need to use black/grey interfacing next time.
Then, regarding the buttons, I’m recycling my boyfriend buttons, because I keep his shirts for future potential projects (who knows!). Useful, they are a standard size and do the job!
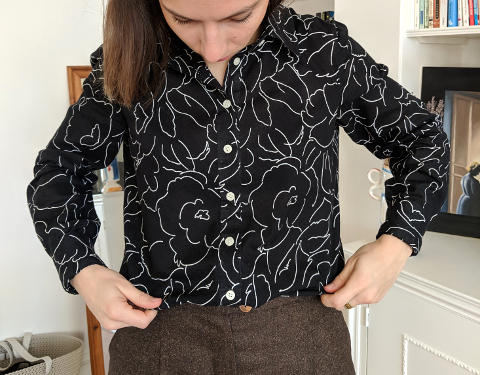
Finally, I’m generally satisfied with the pattern, the instructions were pretty clear. Despite my amends before cutting the fabric, the sleeves are still too long (my arms must be very short!). Otherwise, I find the sleeves too wide, and don’t understand why the pattern offers tailored sleeves, i.e. in two pieces (normally used for a fitted sleeve). The neck opening is also too wide for me (it is noticeable when I close the shirt with the top button). This is due to the fabric which does not correspond to the pattern I guess. It is written on the pattern packaging! It requires a fabric with more drape like a crepe, or a viscose. This shirt is casual and is not displayed with a closed collar anyway so it might be the style.