Hi everyone!
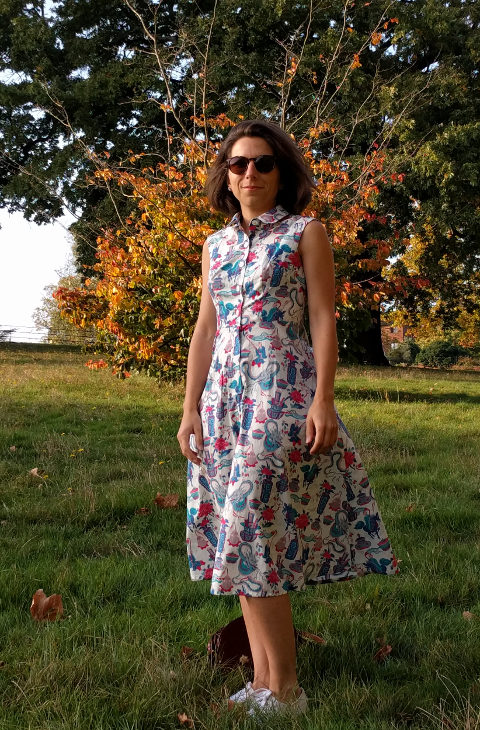
We had a beautiful autumnal Sunday in London so I took my recently finished shirt dress outside before it has to hibernate in my wardrobe. 🙂

I started this dress at the end of August and I am so relieved that it’s now finished. It actually took me a while to make the necessary pattern adjustments. I made a toile first using calico, and the bust points were totally in the wrong place compared to mines. I did a pattern cutting course this summer and it really helped me to work on the pattern and modify it based on my measurements.
- The pattern is the Penny dress from Colette Patterns.
- The fabric is from Liberty.
It also took me a while to cut the fabric which I had bought last winter. I didn’t really know what I would do with it before I saw this shirt dress pattern. I just knew that I wanted to keep it for a beautiful dress… I was so worried when I cut it!


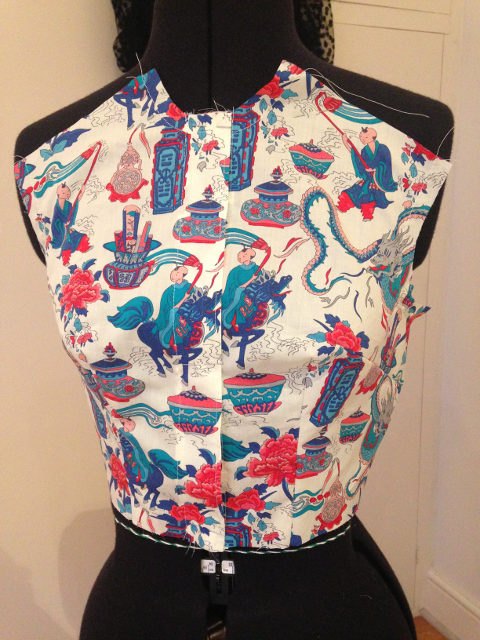
Hello Darth Vader!
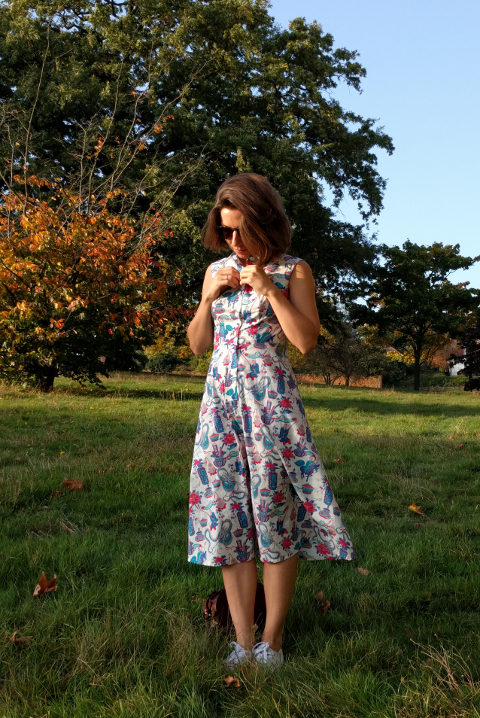
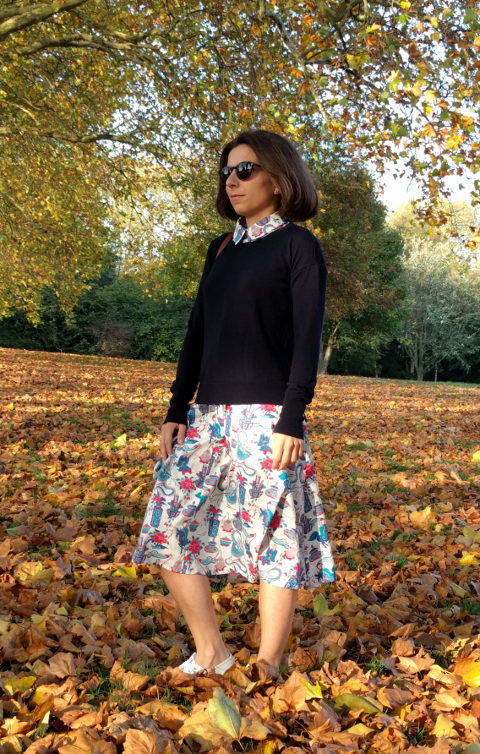
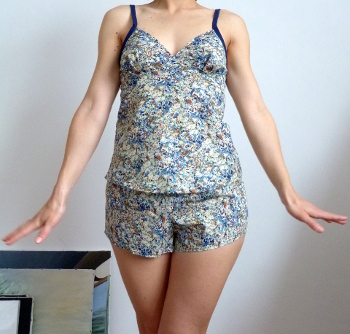
I’m really happy with it. I love the shape, and the fact that it’s quite versatile: it can look casual with some sneakers and jumper like on the pictures, and it can also look very chic with high heels (I’ll show you next year!). In my opinion the fabric is just perfect for this dress, very light and easy to sew.
The sewing journey was not without difficulties though.
I didn’t really took care of cutting the fabric following the drawings of the fabric so I ended up with repeating drawings on the two sides of the shirt and same for the back shirt. Fortunately I still had some fabric left to cut a second left front bodice, and a back yoke. Now the front looks better, and for the back, I managed to cut a yoke that matches perfectly with the back bodice piece.
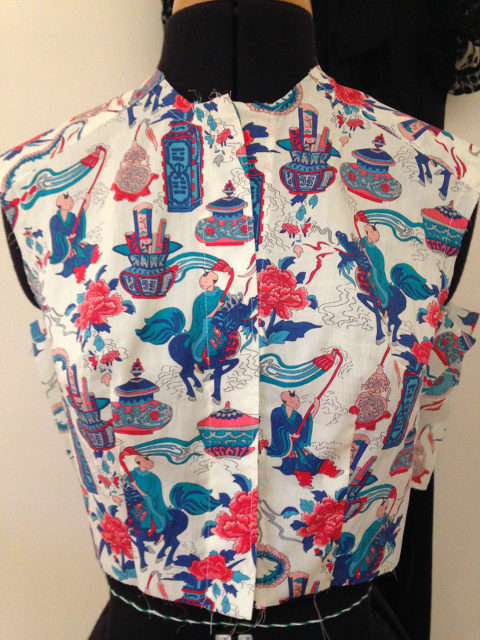
I found it hard to assemble the collar stand to the neck opening, as it looked longer…don’t know what happened there. In the end it went ok, so not a big deal.
Also, I cut the front skirt pieces with the pattern on top of the right side of the fabric, so when assembling them with the skirt placket, I ended up with a side that was wider than the other and didn’t match the shirt at all, so I had to do the skirt placket on the other…
Last but not least, I thought the buttonhole stitch didn’t work anymore on my sewing machine for 30 min (I even posted a question on a forum!), but in the end, it was a setting mistake. I should always keep my machine user’s manual not far, it’s my saviour!
Next time I’ll use the pattern, I will do some improvements:
- Of course, I will be extra extra cautious when cutting the fabric!
- The waist is a bit too high to my taste, so I’ll lower it a bit.
- The shoulders are not straight enough for my shoulder shape, which makes the bodice higher than it should on me.
- I will finish the armholes with bias binding instead of facing, which I think looks better inside.
- I will finish all seams using French seam finishing, or fake French seam finishing (which I did for the skirt side seams).
- I will cut the back skirt in one piece, as I can’t figure out why there are 2 pieces that are straight but sewed together…
- I’ll probably use snaps instead of a button on the collar.
I hope you like it!