Hello everyone!
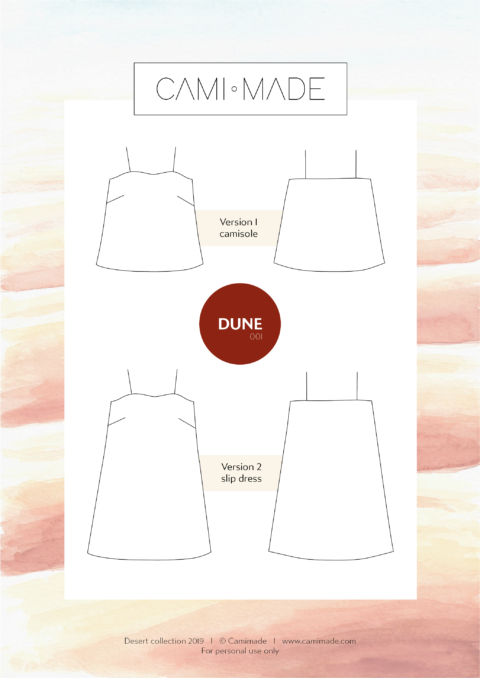
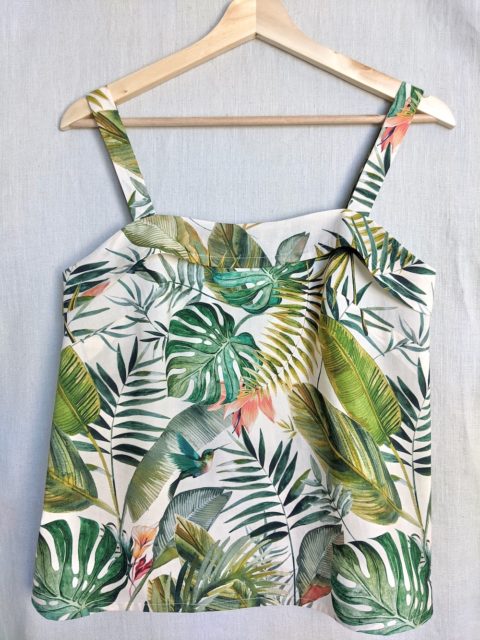
Today on the blog, I am sharing a simple hack for the Dune cami top pattern.
We are going to use the facing which normally is inside the garment as a visible element on the neckline and make wider straps.
Here is what I am talking about :
Modify the pattern
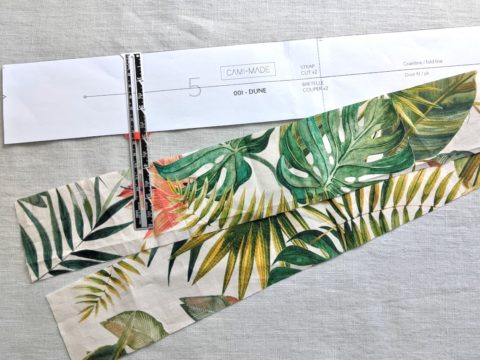
For the straps, you only have to modify the width: I am making mines 7cm wide instead of 4.5cm on the pattern.
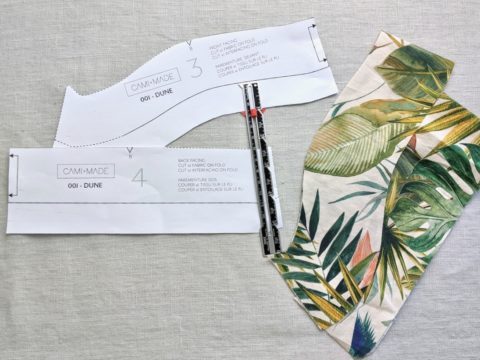
For the front and back facings, lengthen them following the shape of both front and back bodices. I added 2.5cm on my facings.
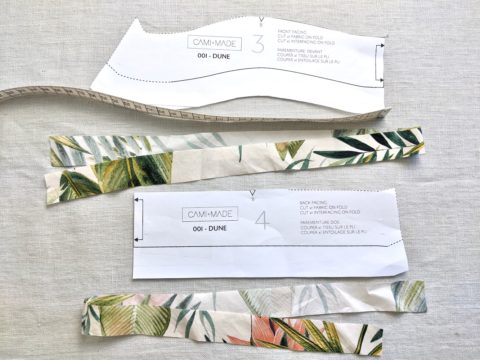
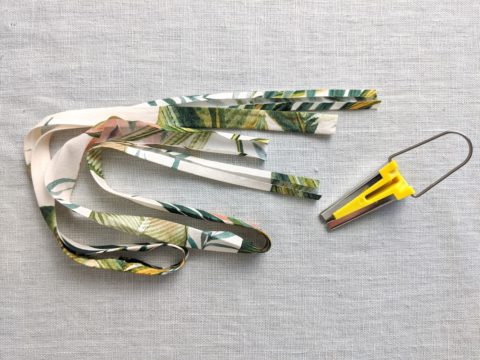
And then, cut two bias strips. They will finish the bottom of the facings nicely. I cut two bias strips, one 2.5cm x 53cm and one 2.5cm x 46cm (same length as the bottom of the front and back facings). Press the bias on both edges. I always use a bias maker to press mines.
Sewing instructions
First of all, put the bodice together as indicated on the pattern, page 6, with or without French seams.
Stitch the straps as indicated on the pattern. I used a 1cm seam allowance instead of 1.5cm to have the widest straps.
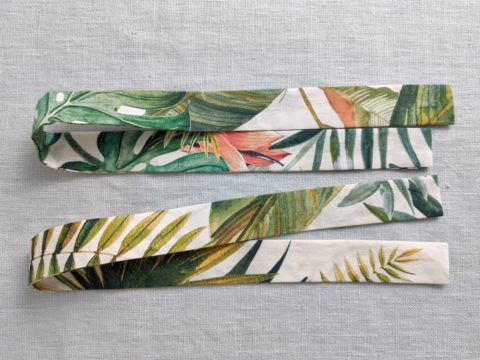
Attach the front and back facings right sides together, as per the pattern indicates on page 7.
Now you are going to finish the bottom of the whole facing with the bias strips. Pin the bias strips together on the short edge right sides together and stitch.You are getting a bias “circle”, with the same length as the bottom of the whole facing.
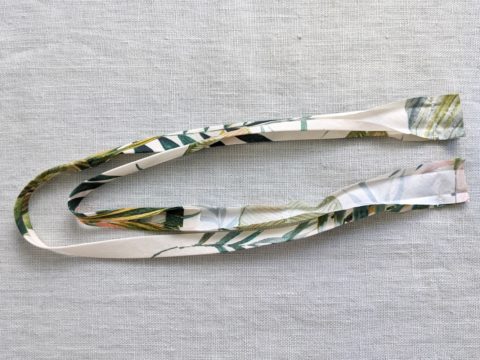
Pin the bias circle at the bottom of the facing, right sides together, matching side seams, and stitch.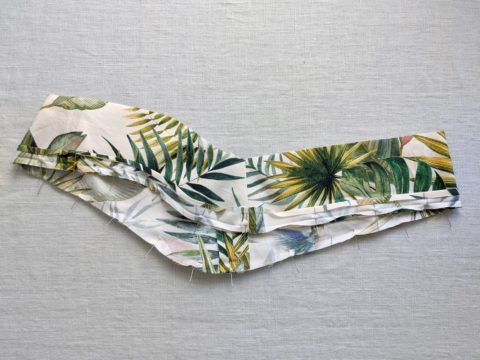
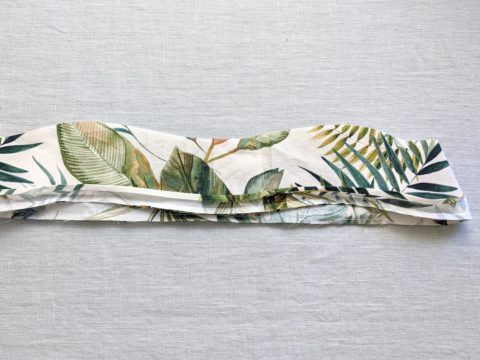
Clip the seam allowances in the curves every cm and press them towards the bottom.
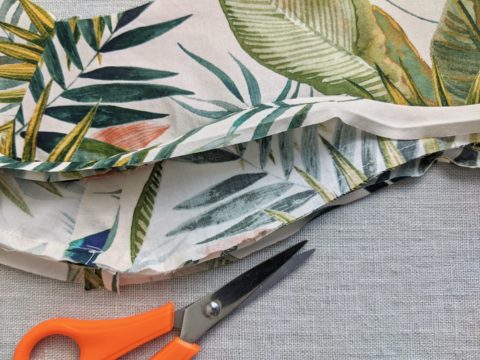
Fold the bias binding inside the facing and pin it. Stitch close to the inner fold of the bias, and press once more.
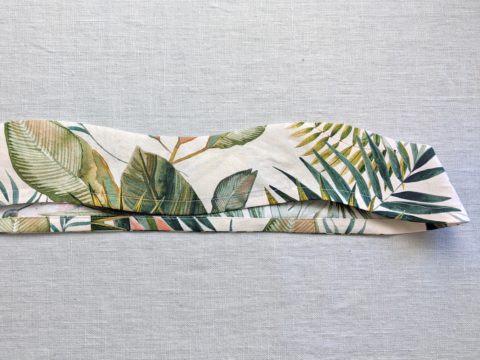
Instead of stitching the straps right sides together on the bodice as the pattern tells you to do, you are going to stitch them on the wrong side of the bodice. Or you can also stitch them right sides together with the facing like I did. Check that the length of the straps is convenient for you.
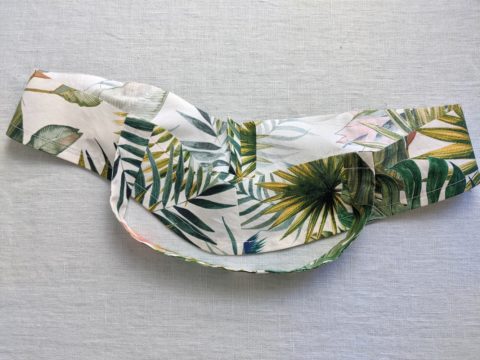
Then, instead of attaching the facing on the bodice right sides together, put the bodice wrong side out and pin the right side of facing against the wrong side of the bodice, matching notches and side seams.
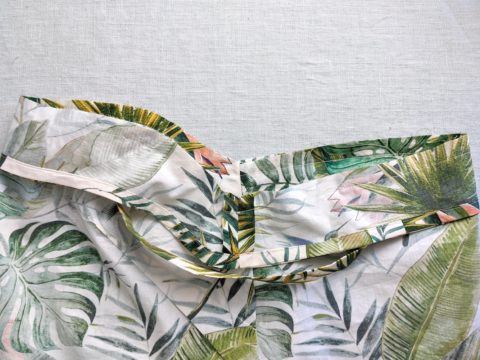
Trim the seam allowances, clip every cm in the curves and press them towards the bodice.
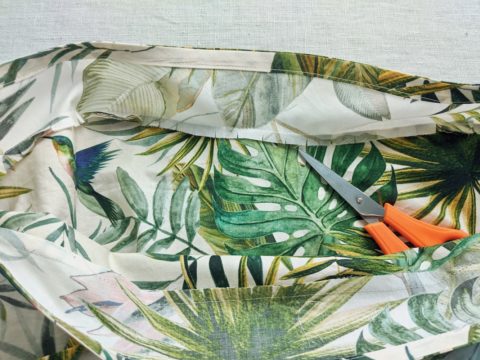
Understitch the bodice, stitching both the bodice and seam allowances located on the other side, close to the existing seam (be careful not to stitch in the straps).
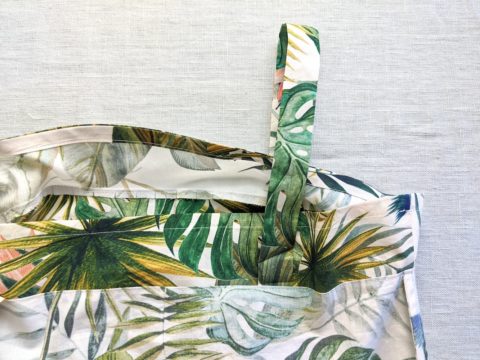
Fold the facing on the right side of the cami top and press so that it stays very flat. The facing is now a visible element of the cami top!
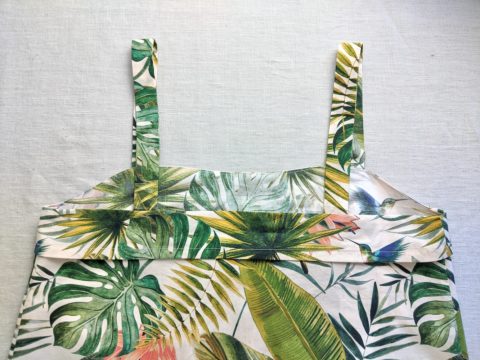
Finally, you can maintain the facing with a few stitches on the sides and finish your cami with the hem.
Another kind of Dune !
I like this variation of the Dune cami top, a little fancier and with wider straps, giving a second life to that cami top pattern.
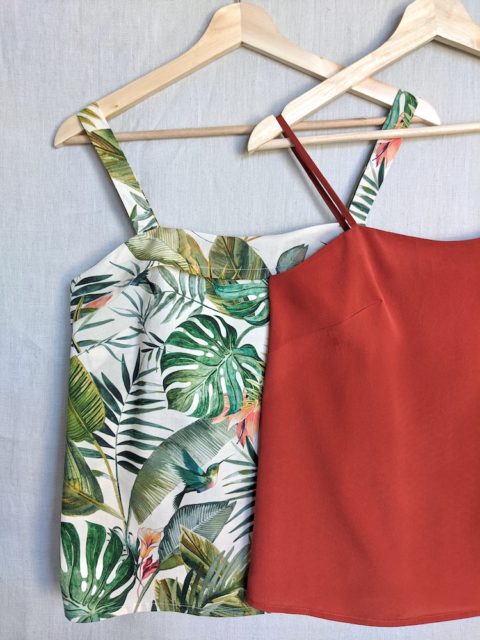
Do you have other hacks in mind for the Dune pattern or any other Camimade pattern? Just leave a comment below to let me know!
Find Dune in the Camimade shop:


