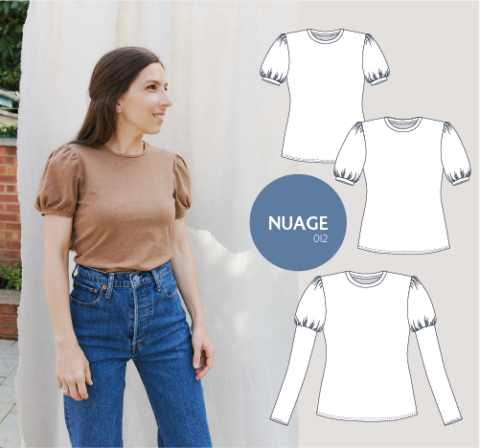
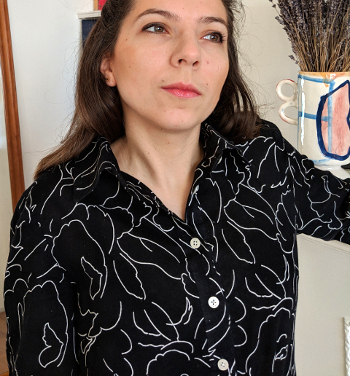
I have recently launched the Nuage t-shirt pattern and I thought it would be nice to offer a hack for those of you who prefer a low(er) cut neckline. In this blog post I will explain how to modify the neckline of a t-shirt pattern, especially how to make it low cut, in just a few steps.
To go from this :
To that:

1. What you need
- a ruler
- a set square
- a large piece of paper (at least as big as the front bodice pattern piece)
- a pencil and felt pens
- paper scissors
- a tape measure
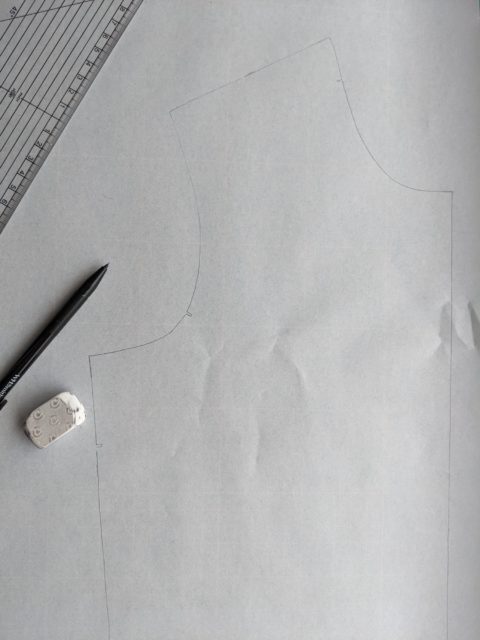
2. Trace the front pattern piece
Using your favorite method, trace the front bodice pattern piece on a big piece of paper. I simply traced around the original pattern piece in the example below. Leave some space around, especially at the top because you will draw the top of the back bodice there later.
2. Trace the new neckline
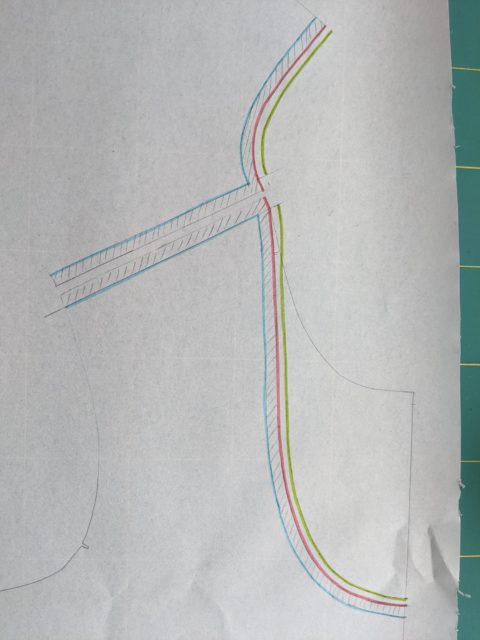
By hand or using a curved ruler if you have one, draw a new neckline according to what you are looking for. You can also measure on yourself by how much you want to lower the neckline and apply this to the pattern. In the example below, I drew mine by hand, marking the lower neckline point 11cm below the original one. This line will be the cutting line (in red in the picture below), which is where the pattern will be cut. Then, trace the sewing line or seam line 6mm from the cutting line to show the seam allowance within the pattern piece (striped area in the picture below). This is where the neckline and neckband meet once the t-shirt is finished.
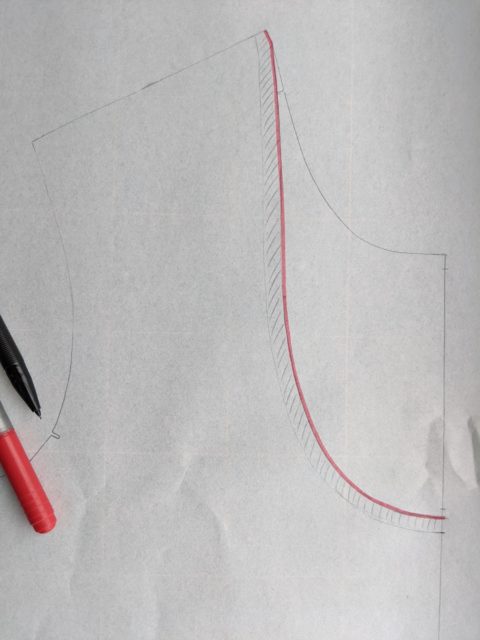
In my example, I have drawn the new neckline from the existing shoulder neck point. This has an impact on the neckline shape: I can’t make it too wide this way. If you want a wider neckline, you can start drawing your neckline somewhere within the shoulder length. This means you also have to re-draw the neckline on the back bodice to make sure the front and back bodices match at the shoulders.
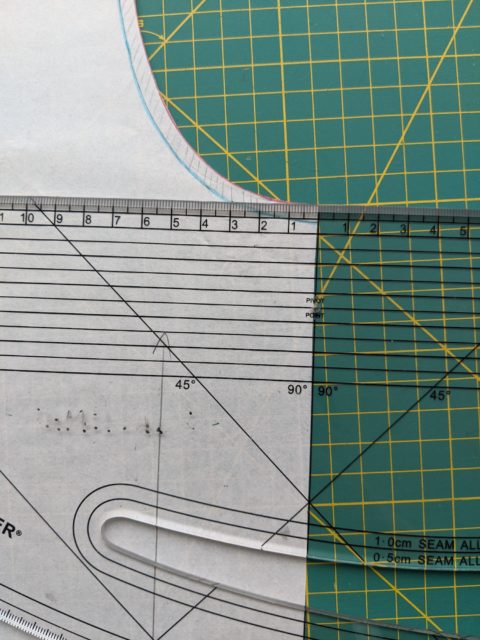
With a set square, make sure that the neckline is perfectly squared at the centre front. This is to make sure the neckline stays smooth at the centre front once the front bodice is cut and unfolded. I am using a tool called a pattern master in the following picture, because this is the main tool I use, but a set square is just fine.
3. Create the new neckband
Once you have your cutting line (in red) and your sewing line (I have added some blue), trace the back bodice neckline above the front bodice. Find the cutting line and the seam line on the back bodice neckline using the same colour code.
Then, for both front and back bodices, draw the line that corresponds to the finished neckband location (green line in the picture). In order to do so, you need to know the width of the finished neckband. In the Nuage pattern, the neckband piece is 3.2cm wide: minus 1.2cm seam allowance and divided by 2 because it is folded on itself, the finished neckband is 1cm / 3/8″ wide. Trace the green line 1cm / 3/8″ from the sewing line (blue line) or 4mm / 1/8″ from the cutting line (red line) towards the outside. Make sure the neckband line (green line) doesn’t include the seam allowances at the shoulder.
Measure the neckband lines on both front and back bodices (green lines) laying your tape measure on the edge. The addition of these measurements will give you half of the neckline length (excluding seam allowances)
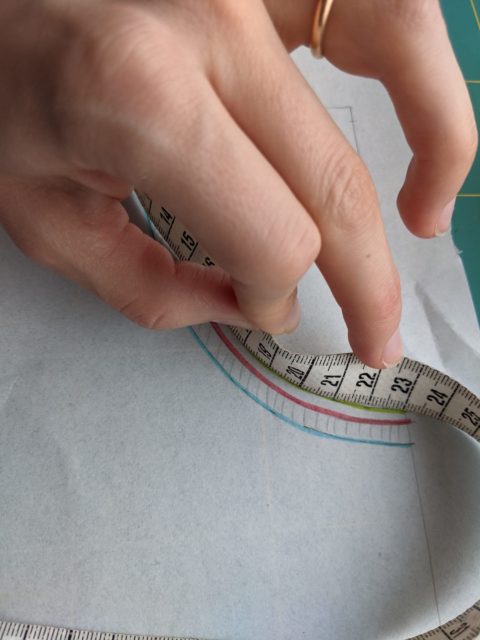
In my case, I have 8.2cm for the back neckband and 23cm for the front.
Calculate the length of the new neckband piece: length = (back neckline + front neckline measurements) x 2 + seam allowance*
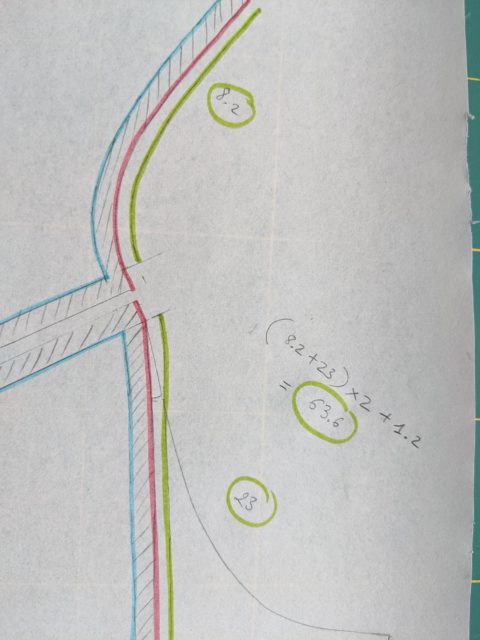
*The neckband will be sewn together on the short ends, so the seam allowances to add to the length on the pattern piece is 6mm x 2 = 1.2cm.
In my case I get: length = (8.2 + 23) x 2 + 1.2 = 63.6cm
Using a ruler and pencil, trace the new neckband piece with this calculated length and with the same width than the original piece, 3.2cm (1cm x 2 + 1.2cm).
4. Cut your new front bodice and neckband
Now that you have traced your new front bodice and neckband, you can cut them with your paper scissors, following the red line at the neckline.
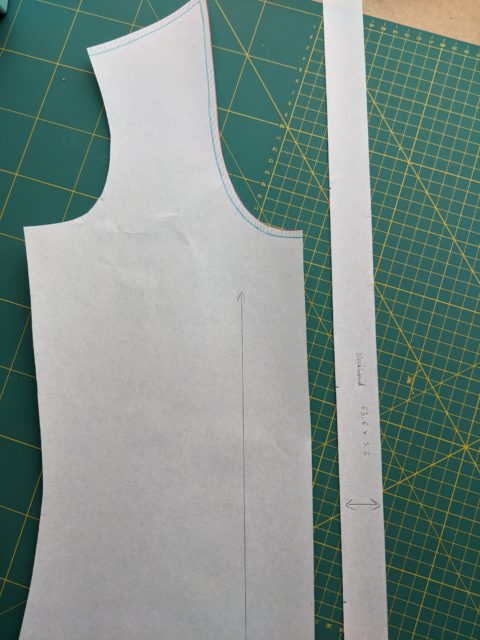
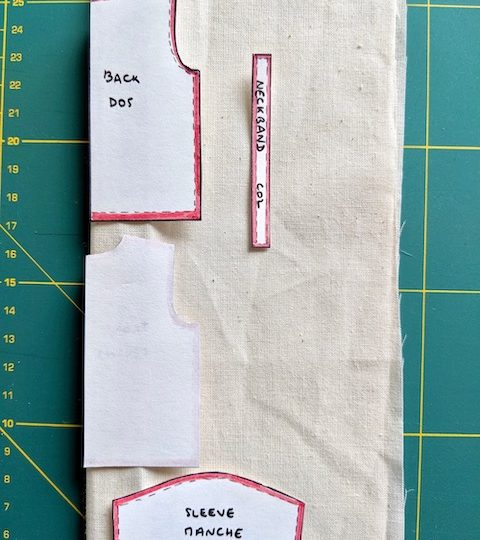
Once you have your new pattern pieces, you can cut your fabric using the cutting layout suggested in the pattern.
4. Sew your t-shirt following the pattern instructions
You can now follow the pattern instructions to sew your t-shirt.
The only thing that you will have to do differently is to divide both the bodice neckline and the neckband into 4 equal parts, by cutting notches (just a few millimetres). These notches are included in the original pattern pieces of Nuage, but they are not valid now since the neckline has been lengthened, so they have to be repositioned. They make it easier to pin the neckband evenly onto the bodice neckline.
In the Nuage pattern, you would have to to do this after step 3 of the instructions booklet. In order to do this, fold the neckline in 2 matching the shoulder seams, mark notches at the centre front and centre back, and fold again (as per the below picture), and mark notches in the folds (that I point with my finger).
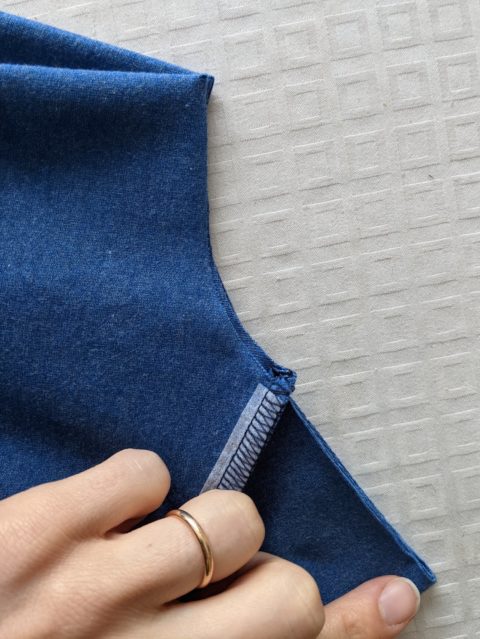
Even simpler for the neckband: fold it in 2 crosswise, cut a notch in the fold opposite to the seam; then fold again, and mark notches in the folds.
Pin the neckband to the bodice neckline at the notches and between the notches as indicated in the pattern and sew. Follow the rest of the pattern instructions.
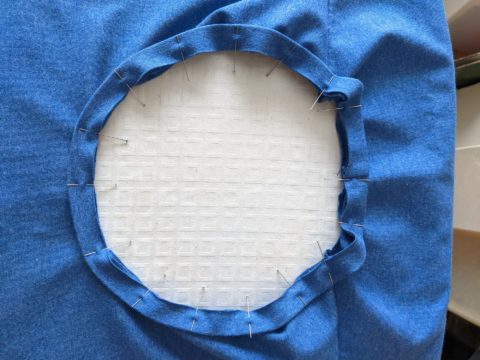
You have now changed the neckline on your Nuage t-shirt.
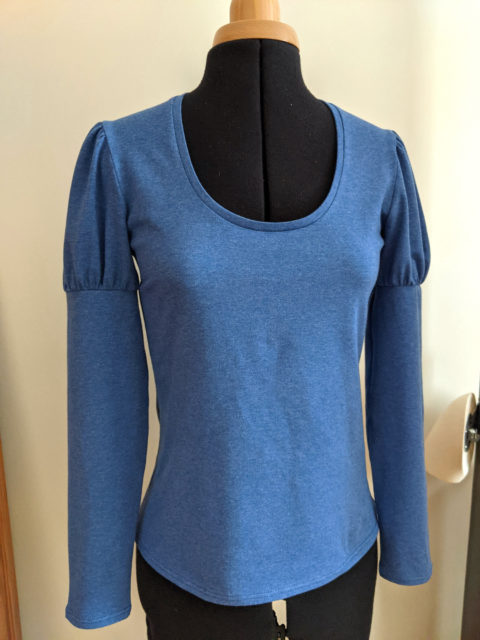
This is how easy modifying the neckline of a t-shirt pattern is!
If you haven’t got it yet, find the Nuage pattern here.


