Hello everyone!
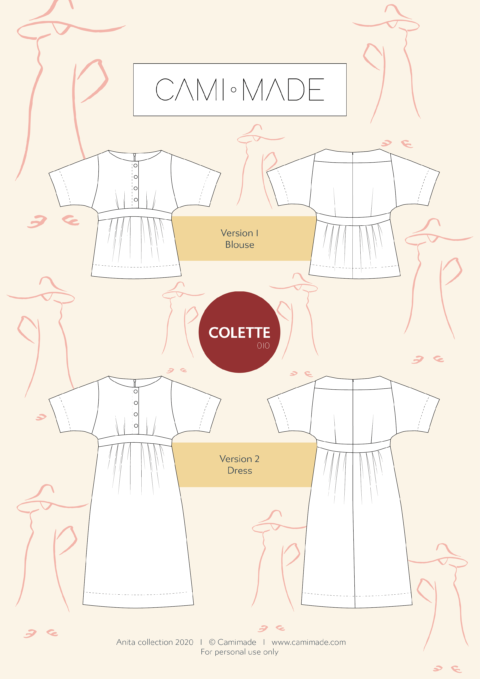
In this post I am going to share a few tips to sew the Colette summer dress and blouse pattern. I will cover a lot of topics from fit tips to ideas for modifications and hacks.
Sewing level
The Colette pattern is for intermediate level. The most difficult things to do are to insert a concealed zipper at the back, to attach a facing for the neckline and front, and to sew an inner waistband for a beautiful inside finish (although I am also showing you how to skip this last detail if you don’t want to do it).
The pattern includes buttons and buttonholes. However, if you want to avoid buttonholes and don’t mind keeping the front closed (since the main opening is located at the back), you could just sew the buttons on the 2 layers of the front. Another easy option would be to replace buttons and buttonholes by snaps!
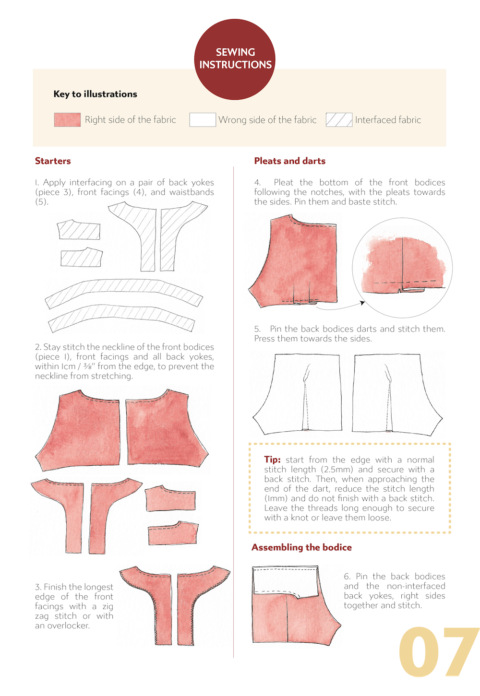
Here is a snapshot of the sewing instructions so you can see the level of detail I am covering in the pattern:
The fit
The measurement table and finished garment measurements are available on the pattern page: click here. In this paragraph, I want to focus on the fit and how to adapt the Colette pattern to perfectly fit your body.
The empire line
This is where the rib cage is and it is the tighter part of the garment. Although the waistband sits at the rib cage at the front, it falls down to the waist line at the back: so bear in mind that the measurement of the waistband doesn’t correspond to the empire line.
The bust
For the bust, I haven’t included any measurement in the finished garment measurements table because the sleeves are wide and the fabric doesn’t go all around the bust. Just note that the pattern is drafted based on a B-cup size so you might still need to do a bust adjustment if your cup is not a B.
The waist
Similarly there is no finished garment measurement at the waist because the amount of fabric available at the waist is folded just above, so even though there is a lot of fabric (the same amount as for the hips in fact) it is not really relevant here.
The bodice length
The length of the bodice is important as you want the waistband to sit nicely on your rib cage. I voluntarily didn’t put shortening / lengthening lines on the bodice pieces because you might want to add more length above or below the bust point. Compare the pattern length and bust point location to your own body to decide if you need to do anything. Simply remember that changing the length above or below the bust point will also have an impact on the sleeve width or the back length respectively.
The skirt length
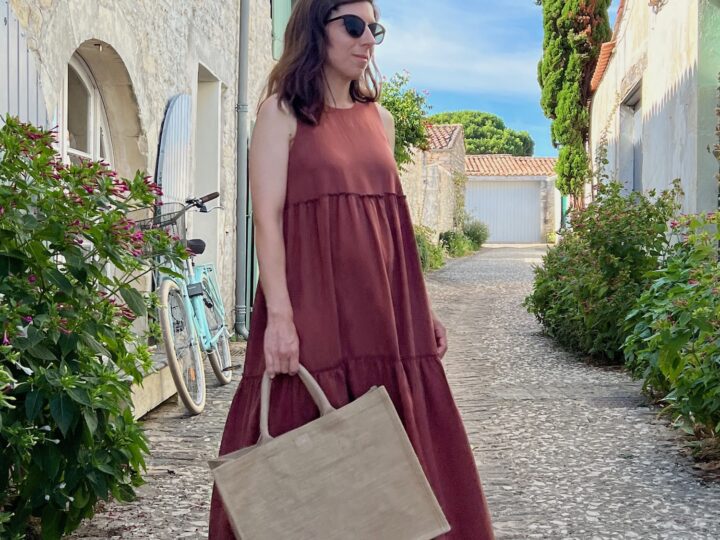
The dress is designed to fall between the mid-calf and the ankle. The blouse is hip length. If you want to change the length, there are shortening / lengthening lines on the skirt pieces. Remember the hems are wide on this pattern for more impact through the weight of the fabric.
Fabrics
The Colette pattern is for woven fabrics and can me made in soft linen, cotton lawn, cotton double gauze, seersucker, cotton poplin, etc.
You could also go with lighter fabrics for a more glamorous look: bamboo silk, silk crepe, etc.
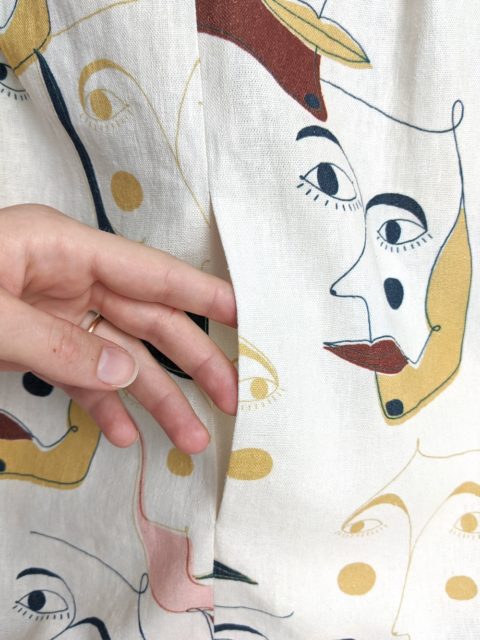
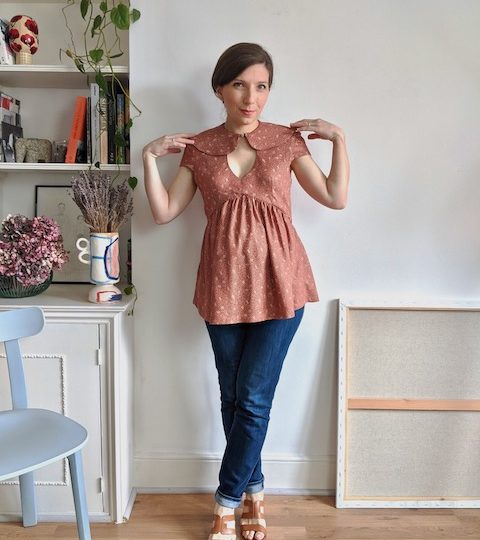
For the samples, the dress is sewn in a soft linen blend (which I bought from Fabric Godmother at the knitting and stitching show), and the blouse is in a cotton poplin (which I bought in this shop in Porto). I find that the soft linen hangs better and is more comfortable to wear but the cotton poplin print was so tempting and still works fine!
Ideas for hacks and modifications
Side pockets
Why not add hidden pockets on the side of your Colette dress? The pattern includes the link to this blogpost where I explain how to do this with a 3-piece pocket pattern.
Side zipper opening
I did a poll on social media and most of the respondents preferred a back zipper opening. However there was still a significant number of people who preferred a side opening!
The pattern is presented with a back zipper opening, but a side zipper opening is not difficult to make! You will need to cut the pattern differently and adapt a few sewing instructions as follow:
- remove the back bodice and back yoke centre back 1cm seam allowances. Cut both on the fold of the fabric.
- divide the waistband to have a front waistband and a back waistband: you need to divide it at the sides (find the side notches: from the centre front 3rd notch at the top of the waistband, and 5th notch at the bottom) and add 1cm seam allowances at the side seams. For the back waistband, remove the centre back seam allowance. The back waistband will then be cut on the fold (and its grain line will be parallel to the centre back).
- leave the right or left side open to insert the zipper from the bottom of the sleeve to the hip. Remember to sew the zipper making sure it opens from the bottom to the top.
I made a back opening on the dress sample and the side opening on the top: I find the back opening more comfortable to wear on a day to day basis, however I like the fact that I could keep the back bodice of the blouse in one piece thanks the side opening (it can be important depending on the fabric print). If you would like a more detailed tutorial on how to do this, let me know in the comments below.
Back slit
Want to move more easily in your Colette dress, especially if you have to go up and down the stairs often? A slit at the back might be welcome! Again, let me know in the comments below if you would like a tutorial for this!
If you have any question or ideas about the Colette pattern, just let me know in the comments below!


