Paulette is one of the most advanced Camimade patterns so it deserves a few tips!
Sewing level
Paulette is an intermediate level sewing pattern but there are some delicate details to sew like attaching the collar and the bodice lining. This requires some experience and accuracy. I think the most difficult part though, is the bodice fit, because the pattern is quite fitted at the bust. In addition, the choice of fabric will be essential for this make. Indeed, you want to get a comfortable dress and a crisp collar. I will come back to all that later in this post.
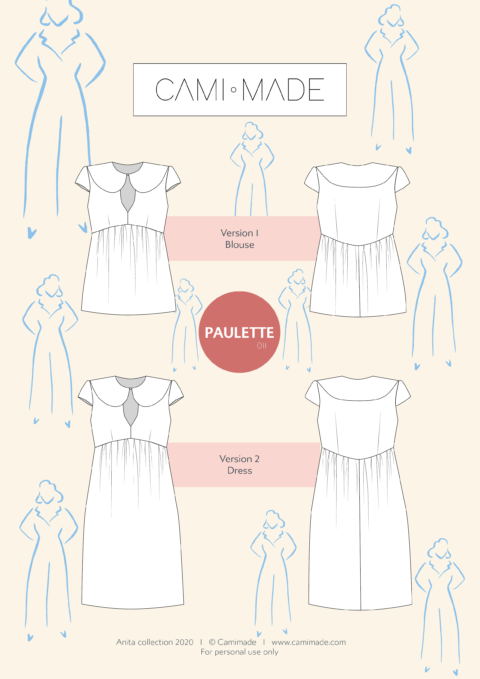
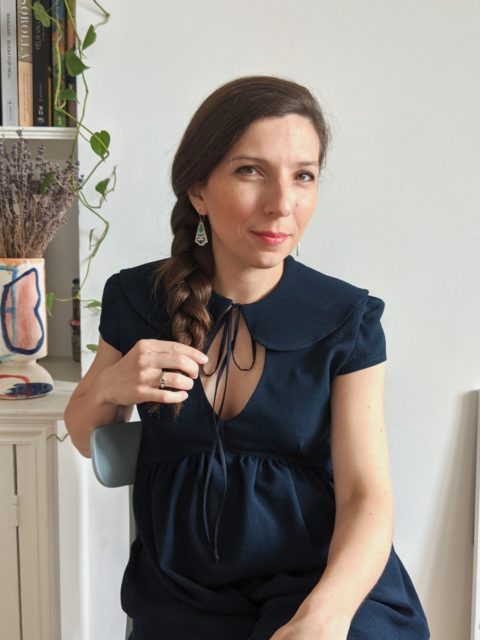
The pattern offers two lengths, for a dress or a blouse, and also a few options to attach the collar at the front:
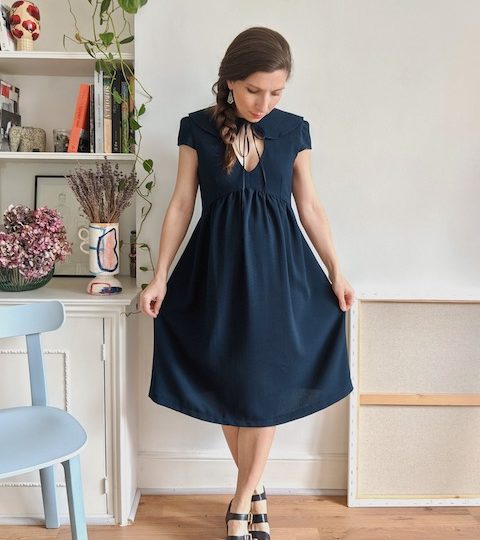
- long thin ties such as in my dress version
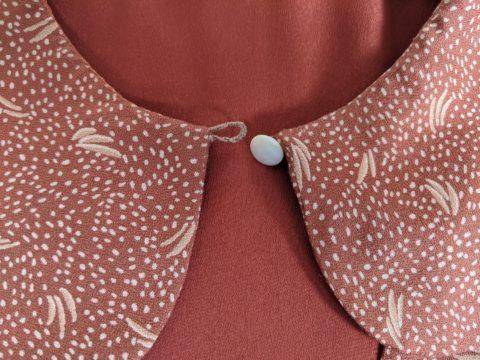
- or a button and a fabric loop
- or a button and a thread loop, sewn by hand, like in my blouse version. I am not covering how to do this in the pattern, but there are a lot of YouTube videos explaining how to sew a thread loop. Here is an example.
The fit
The measurement table and finished garment measurement table are available on the Paulette pattern page. Use them to choose the size you are going to cut.
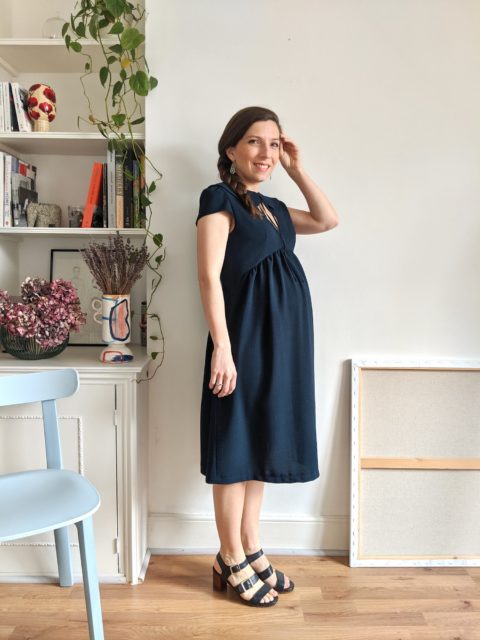
The Paulette pattern is perfect for pregnant women (and non only!), but the bust is nonetheless fitted around the chest. So here are a few tips to get a perfect result for your own body.
Make a toile!
First of all, as the title suggest sew a toile! I don’t like making toiles and I often skip this step, BUT, for some patterns like Paulette, it is ESSENTIAL. It will allow you to check the depth of the keyhole, the bust darts, the neckline and other important details. You want the dress to fit well, so I really recommend to take the time to make a toile. If you lack time, sew a minimal toile with at least the bodice and one sleeve only.
Adjust the bodice
- My second tip is that the pattern was designed for a B-cup bust. So if your cup is bigger, a full bust ajustement is likely to be necessary. I am not going to explain how to do this here, because it would deserve a full post, but there are a lot of online ressources on the subject. Here is one that you can trust:
How to make a full bust adjustment?
- Then, check the bust length on both the finished garment measurement table and your toile. The seam attaching the bust and skirt is supposed to sit comfortably below the bust. Adapt the bodice pattern if needed according to your own measurements. Even if the pattern offers a specific place to lengthen / shorten the bodice (double lines above the bust dart), you can decide to lengthen / shorten the pattern piece somewhere else that seems more convenient for you, at the armhole level for instance. It is up to you to choose where to do this. If you change the length where the pattern suggests on the bodice front, remember to change the length on the back bodice too to maintain the length of the side seam. If you change it at the armhole level, check the front keyhole is still fine for you.
- After that, check the depth of the front keyhole. I like the one I offer with the pattern but I know it is a matter of taste and it is about feeling comfortable with it. I totally understand that not all shapes will feel comfortable with it… However it is easy to change the depth by raising the curve on the front bodice pattern piece such as below:
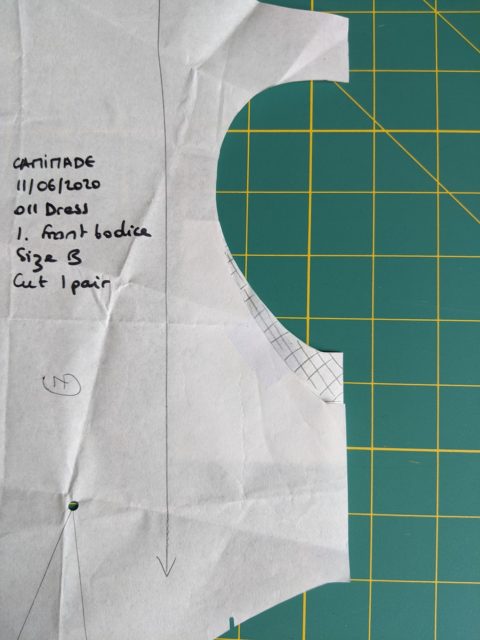
I have raised the front keyhole by 2cm in this example.
Adjust the length
Finally, you can lengthen or shorten the length of the skirt to your will. In order to do so, use the lengthening / shortening marks (double lines present on the skirt pieces).
Fabric suggestions
The fabric choice is very important for Paulette. On one hand, you have to take into account the Peter Pan collar which requires stability to avoid warping. On the other hand, the skirt has a lot of gathers so you want to avoid a stiff fabric. There is also some lining fabric needed for the bodice… so it is easy to get lost!
Main fabric
For the main fabric, I would recommend a light fabric with some drape like crepe, viscose or rayon. I have sewn my blouse version is a viscose crepe from Atelier Brunette and it works very well. For the dress, I used a cotton & poly textured crepe, which has a little bit of stretch and it was a bit more tricky for the collar (see next paragraph to discover how I managed this). The safest choice will be to go for a stable fabric which is still a bit drapey like a cotton lawn: the Liberty London cotton lawn is the best in this category.
Peter Pan collar fabric
Your attention please! We want a beautiful crisp Peter Pan collar with a flat finish on the neckline and on the curved edges. In order to do so, we need lightness and stability that we can get in different ways:
- First of all, you will have to interface the under collar in any case. I only did this with my blouse version because the viscose crepe I had was both light and stable.
- Then, if your main fabric is slightly too thick or lacks stability (like for my dress sample), I recommend to use a different and more stable fabric for the under collar like a cotton lawn or a cotton voile. For my dress, I used some cotton voile fabric in the same colour but much more stable and light than the main fabric.
- Lastly, you could also make the entire Peter Pan collar (top and under collars) in a light and stable fabric which contrasts with the main fabric. We often see contrasting Peter Pan collar, black on white or the contrary. This is my idea for the next Paulette I will make.
Lining fabric
In order to line the bodice, you will need a light and stable fabric, soft against the skin, like a cotton voile or a cotton lawn. This fabric can also be used for the under collar if your main fabric is too thick and unstable as suggested above.
For both Paulette samples, I used a cotton voile fabric for the bodice lining.
A few hacks ideas
Paulette has a lot of potential, and you could get a huge variety of makes with some imagination. Here are a few ideas…
- Add hidden pockets on the side of the dress using this tutorial.
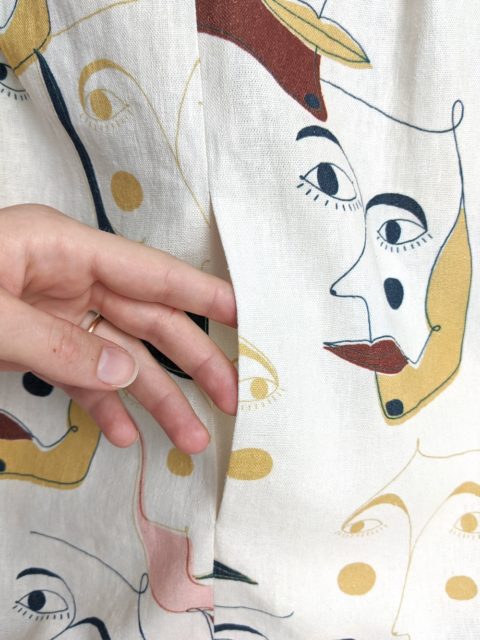
- You could change the shape of the Peter Pan collar or the front keyhole by redrawing the curves to your taste! Why not have pointed edges at the front of the collar?
- You could personalise the dress by adding some piping along the edge of the collar and on the bodice/skirt seam, or pompom trimmings for even more impact! One of my testers, @mimi_kikoo, did this and look at how different her dress looks!
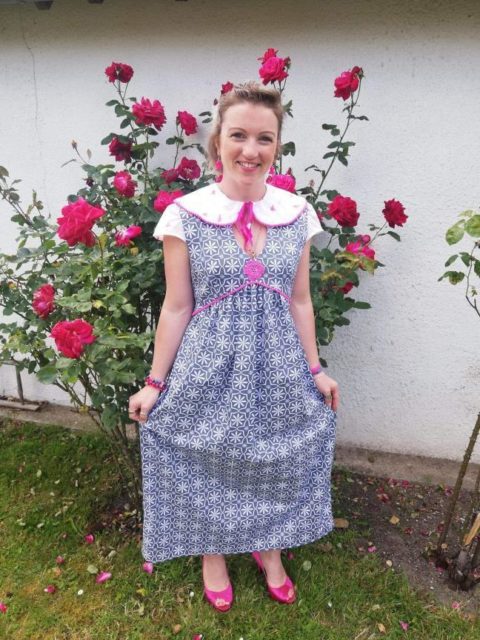
Do you have other hack ideas or do you need more tips? Just let me know in the comments below.
To buy the Paulette pattern, it is this way:


