Hello everyone! In this post I am showing you how to make beautiful darts with 5 tips. Darts are not difficult to sew, there are just a few tricks to know to make them successfully.
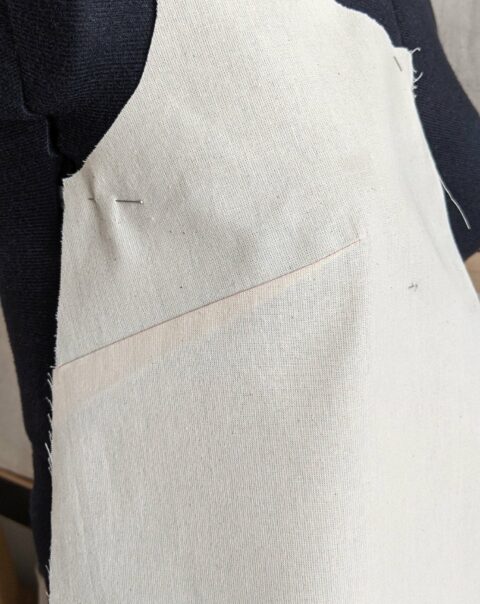
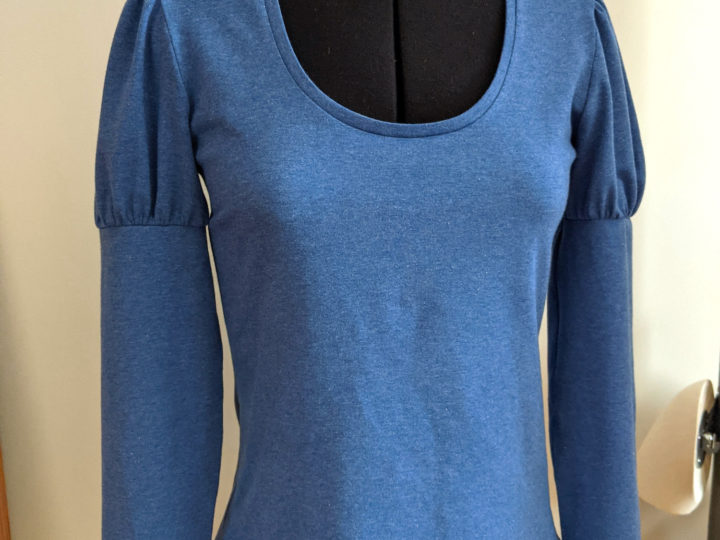
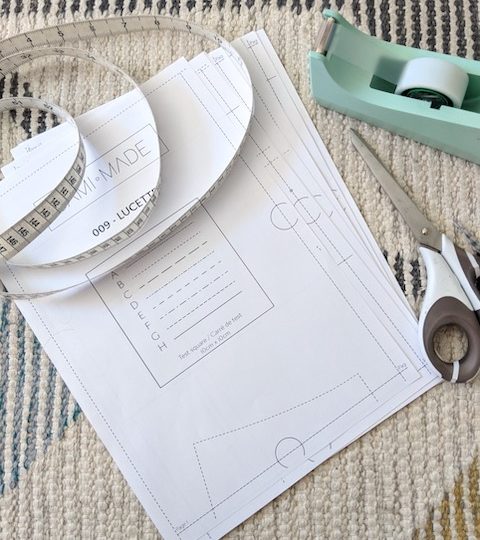
Darts are very useful garment details: they create volumes while removing a bit of fabric and they are almost invisible from the outside. I like to incorporate bust darts in my top sewing patterns, like on the Dune camisole or the Lucette blouse. Darts are good sewing details to tackle for beginners. So here my 5 top tips to make beautiful darts.
1. Trace the dart on the wrong side of the fabric
Make sure you fold the fabric right sides together before laying out your pattern piece on top. This enables you to make the markings on the wrong side of the fabric.
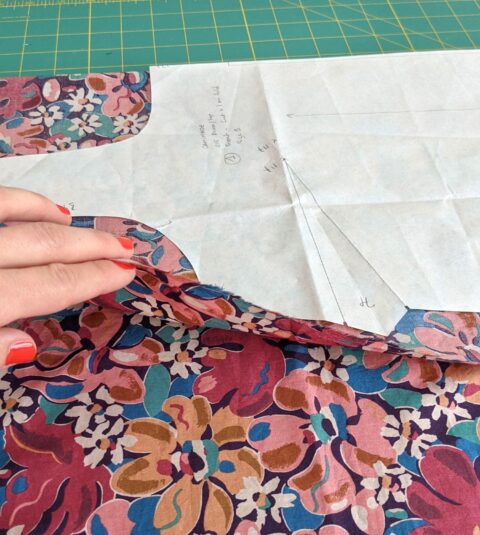
Fabric is folded right sides together before cutting the pattern
Mark the two ends of the dart by cutting little snips (no more than 2 mm).
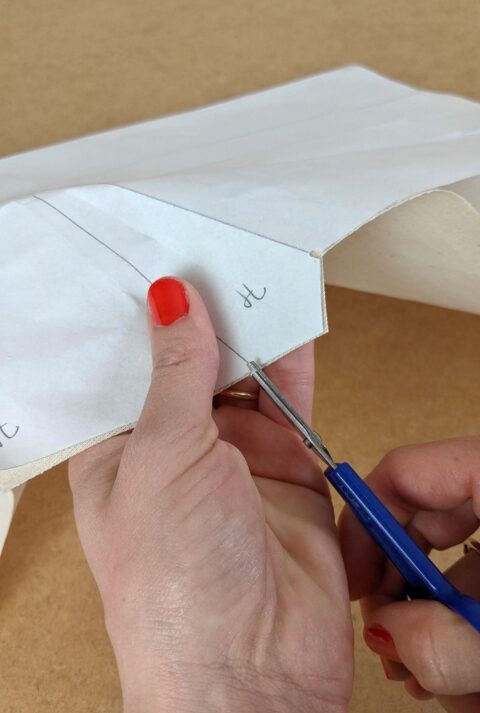
Cut little snips to mark the dart ends
In order to mark the dart point, put a pin through the pattern and the two layers of fabric. Using a tailor’s shalk or an erasable pen for fabric, mark the dart point exactly where the pin goes through on both sides of the garment.
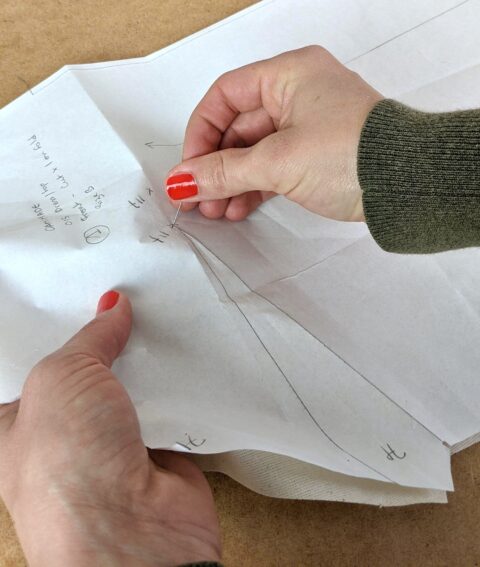
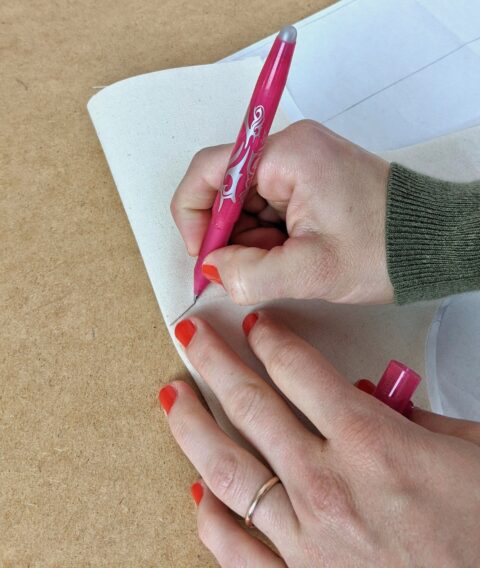
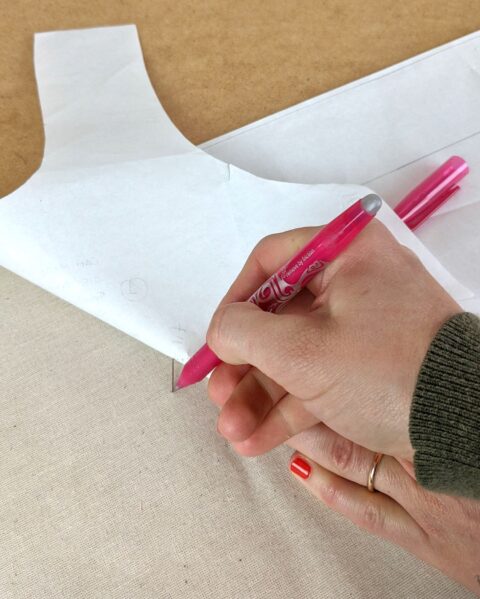
After removing the paper pattern, trace the dart, between the snips and the dart point previously marked. You can use your usual ruler. Now you can visualise the full dart on the wrong side of the fabric.
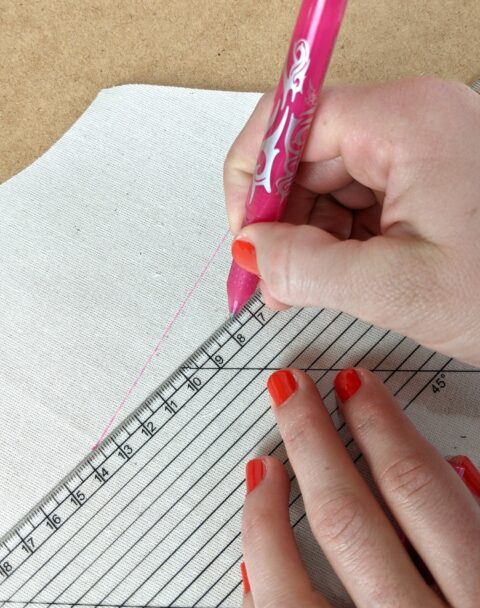
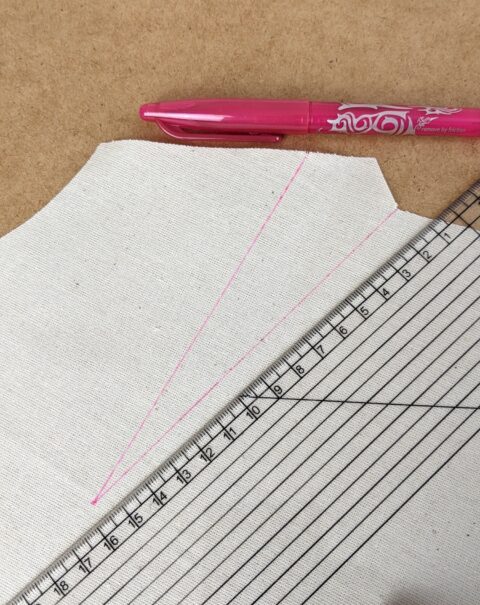
On a light coloured fabric, I use an erasable pen, and on a dark fabric, I prefer to use my tailor’s shalk.
2. Position your fabric correctly before pinning
Now it is time to fold the fabric to create the dart. Before pinning, fold the dart, with the dart ends at the top, the dart point at the bottom, and the fold on your right.
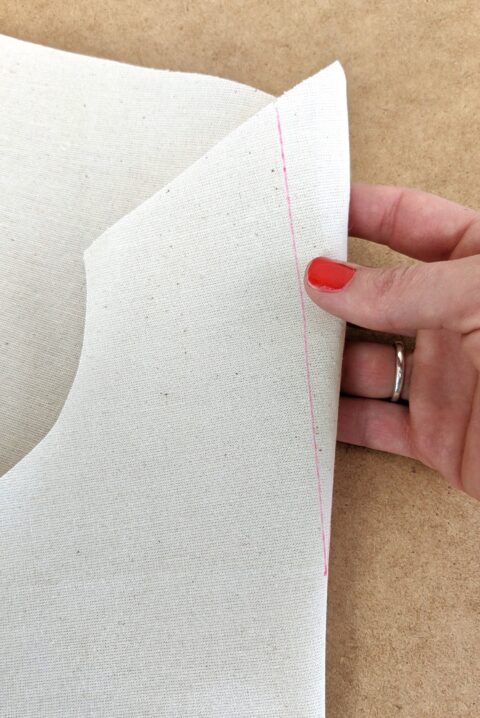
It may seem like a little detail, but it will be very useful to pin in the right way, so that it is easier to sew with the sewing machine.
3. Pin the dart in place
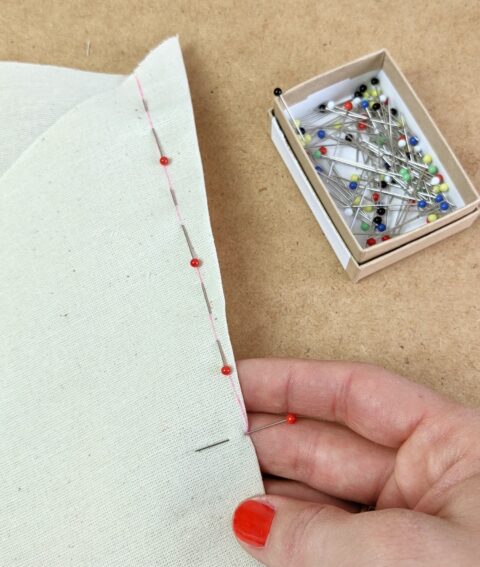
My favourite way of pinning a dart is by following directly the dart legs with the pins. That way you can easily check the two legs match on both sides. I put my pins from the bottom to the top, so I can remove them easily when I sew with the machine.
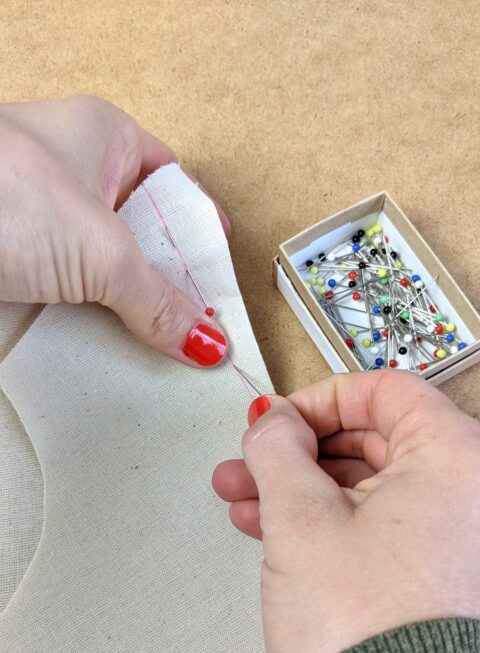
Add a last pin at a right angle at the dart point. That is where you will stop sewing.
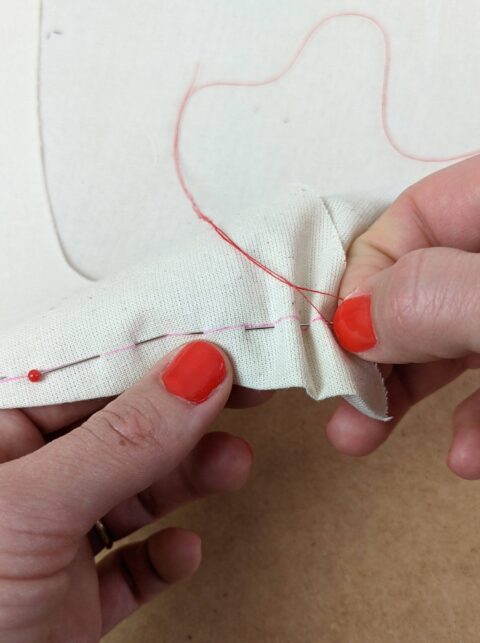
If the fabric is too slippery, I recommend hand basting the dart before sewing with the machine, to add stability. Baste by hand using a long stitch. It doesn’t have to be perfect, it is simply to hold the dart in place before sewing with the machine. You can remove the basting at the end.
4. Sew the dart
In order to sew a beautiful dart, start from the dart ends (at the edge of the fabric) with a back stitch.
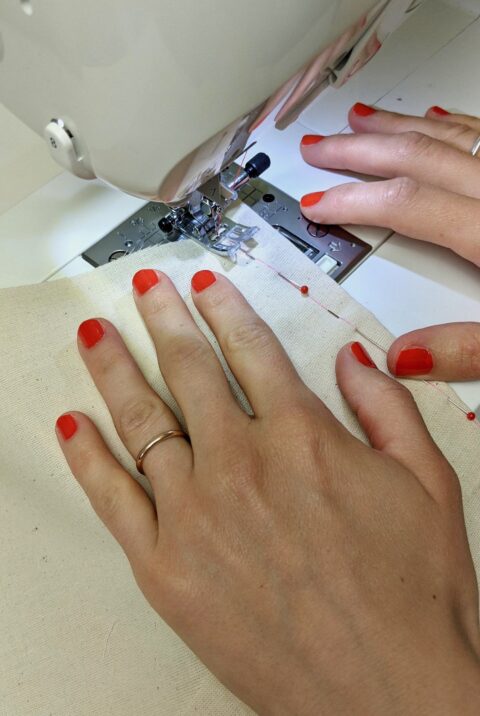
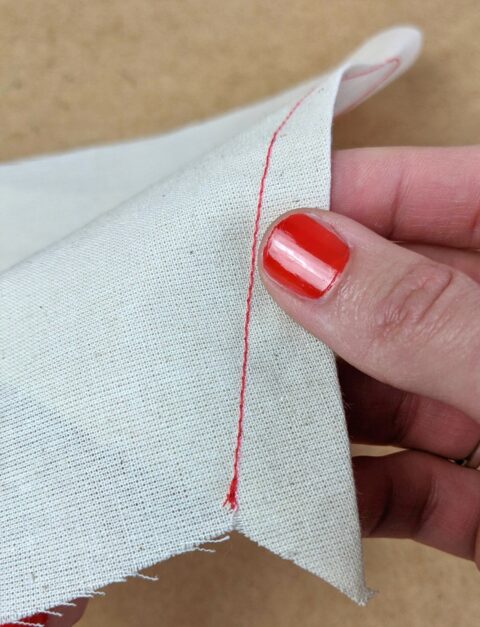
Back stitch to start sewing the dart
Remove the pins along the way. When you get close to the dart point, reduce the stitch length (1 mm), and stitch as close as possible to the fold. Do not finish with a back stitch.
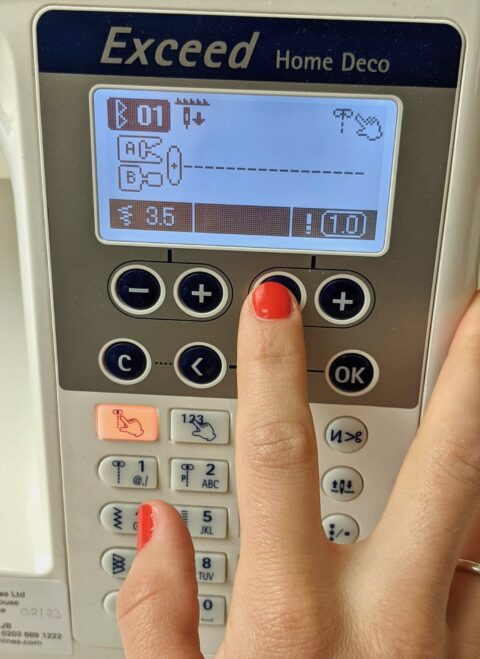
Reduce stitch length on your sewing machine
Make a couple of stitches outside the fabric, beyond the dart.
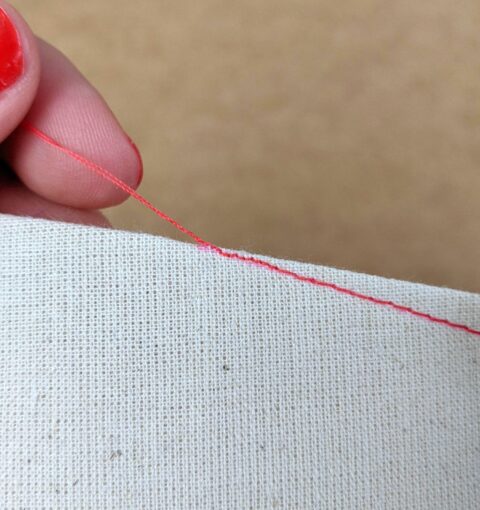
End the dart with 1 mm stitchs close to the fold and beyond the fabric
Leave the thread tails long enough to tie a knot and cut the excess. Otherwise, I like to tidy the thread tails directly within the fold of the dart with a hand needle.
5. Press the dart like a pro
Press the dart flat to enchor the stitches, but make sure not to press beyond the dart point.
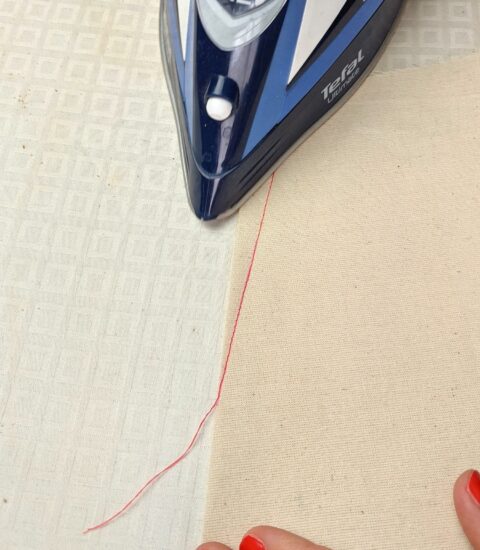
Finally, press the dart as per the pattern instructions, i.e. towards the bottom of the garment / towards the side / etc. For this step I press with my fingers first. And I also prefer to press the dart from the wrong side to avoid the fold of the dart marking the right side of the fabric.
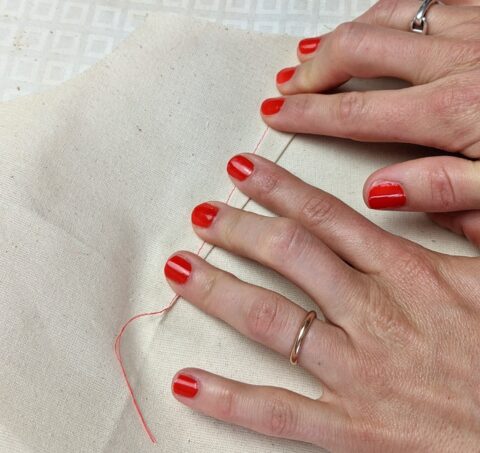
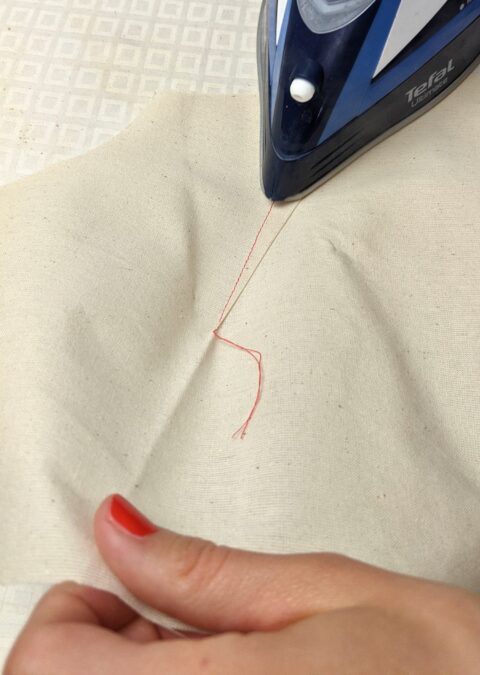
A tailor’s ham is perfect to achieve this step but it is not necessary: I am used to simply pulling the fabric up while pressing (as you can see in the above picture) and it works fine.
This post is also available in French.


