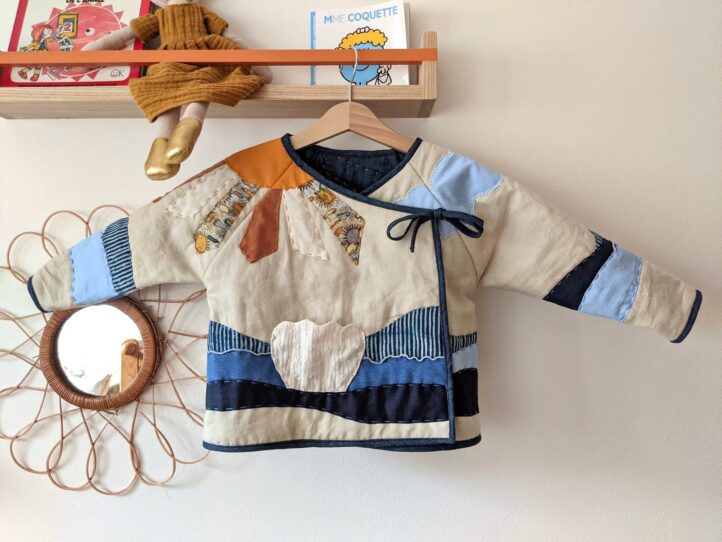
Hi everyone! I was about to write this post to share my September makes, but I quickly realised that I was going to write a lot about the little quilted/embroidered jacket I made for my baby girl (are they still babies at 2 years old?). Hence I decided to only talk about this jacket in this post! I will write another one for my September makes, probably!
Inspirations
I recently saw a quilted jacket on the Instagram account of Lisa Gachet. She is a French fashion designer, founder of Make my Lemonade and a very inspiring woman. When I saw the jacket she made for her daughter, I immediately had a crush. She made her jacket with hand embroidered appliques, made of remnants from her brand’s previous collections. In her story, she talked about having a “crafty” / hand made result, that it didn’t have to be perfect, and I really liked this approach.
If you have been reading my blog or following me on social media for a while, you know that I don’t throw away anything, and especially fabric scraps. I did write a post to share 9 ideas to reuse fabric scraps. In my list of ideas, there was a quilted jacket completely made from fabric scraps, this is an idea I’ve had for quite some time then!
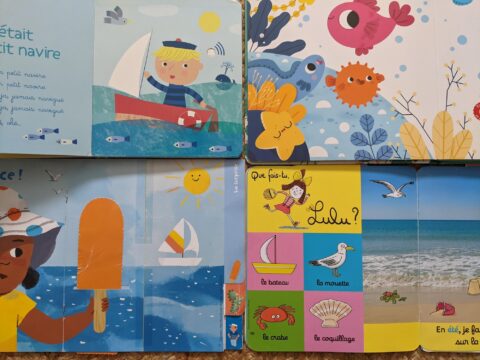
Anyway, this project became obvious, so I deep dived in it completely. For Jeanne’s jacket, I chose a theme that is close to my heart, and that she looooves too: the sea. I grew up by the sea and I was inspired by the representation of the sea in children’s books and items, the big waves, the big boats, vibrant colours, etc.
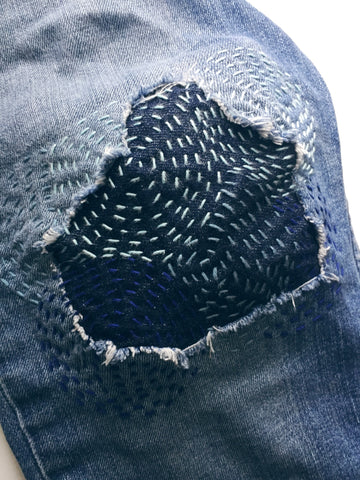
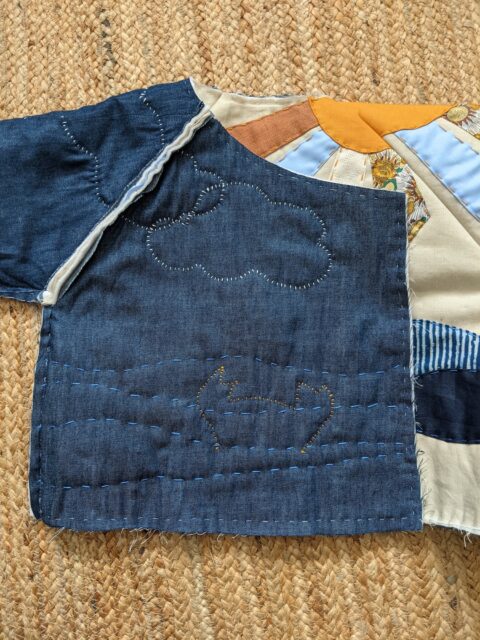
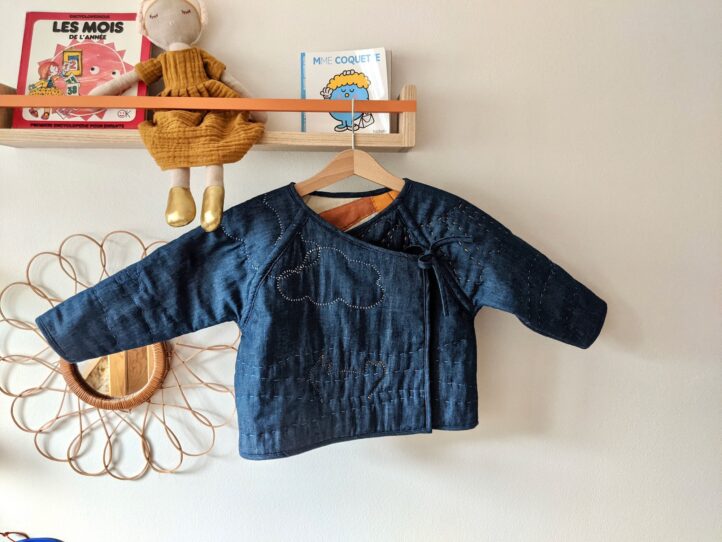
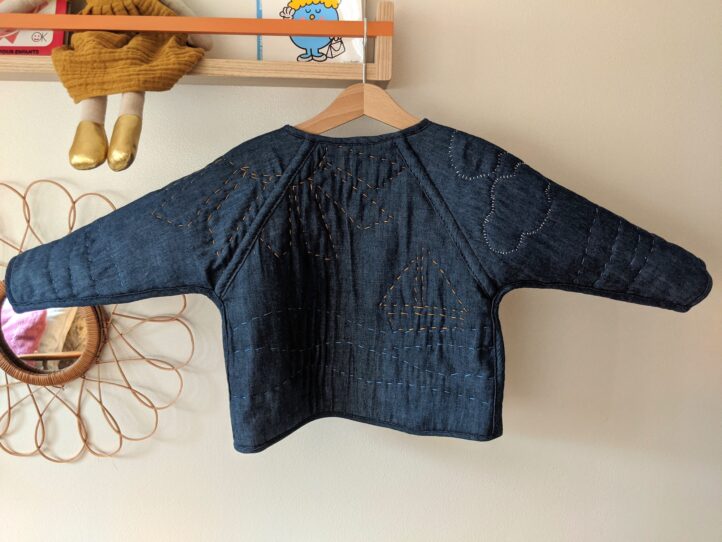
There was another thing that I wanted to render in the jacket, Sashiko. This is an embroidery technique (an art and a mending technique) aiming at repairing and/or decorating clothes, which comes from Japan. With the chosen fabrics, I realised that while hand embroidering the appliques, I could also show the shapes of the appliques with the embroidery thread on the inside of the jacket and make it reversible.
(image from wrenbirdarts.com)
The quilted jacket pattern
Regarding the pattern, I wanted to make it myself, and I decided to go for a simple shape with raglan sleeve and overlapping fronts that close with ties…if you know my patterns, you will recognise my interest for this type of closure! (Mirage pants, Donna top)
Mini quilted jacket supplies
Fabric scraps
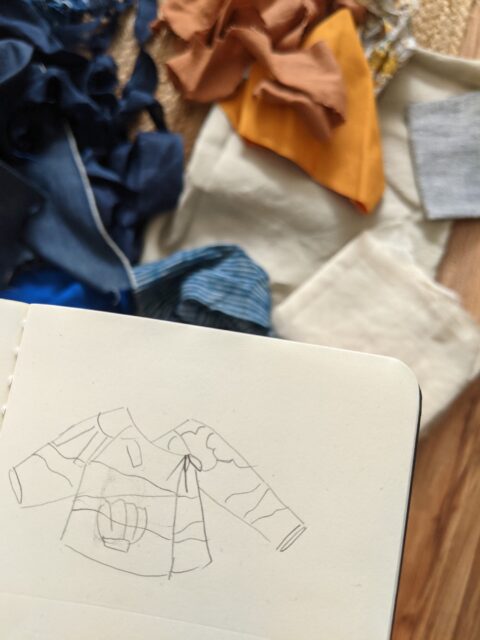
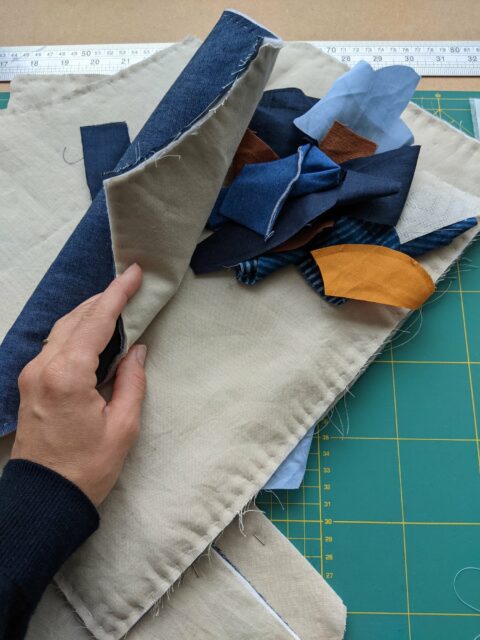
In order to make this jacket, I didn’t buy any fabric, I only used fabric remnants and scraps from previous makes:
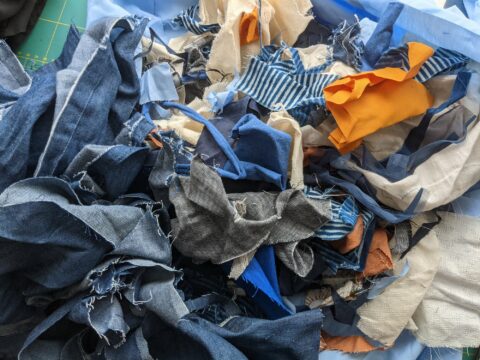
- For the outer fabric, I picked a beige linen remnant also used for a Lucette shirt sample.
- For the inner fabric, I unpicked a skirt I made a long time ago in a navy blue chambray. I had to sew some bits together to have bigger fabric pieces to cut the sleeves. Nothing is lost…
- Regarding the appliques, I used a lot of different scraps: for instance jersey samples on which I tested rolled hems, and a lot of different woven fabric scraps that I have kept throughout all my projects (I even opened my pouf filled with fabric scraps to find a few).
- I only used fabrics made of natural fibres, cotton and linen, except maybe the light blue popeline, which might be a poly-cotton mix.
Wadding/batting for quilted jacket
I only bought one thing to make this quilted jacket, wadding/batting! I bought a lot to make a jacket for me later on. When I have time… I bought a poly-cotton wadding on Minerva.com, from the brand “Legacy” (here). This was my first time buying wadding so I didn’t know where to start, and after some research I landed on that one.
Miscellaneous
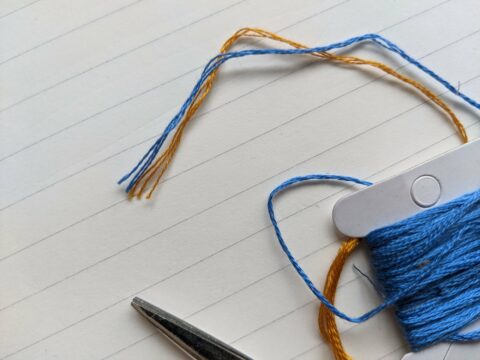
I inherited a lot of embroidery threads from my grand-mother Lucette, and I found some in the colours I was interested in, from DMC. I decided to hand embroider my appliques with 3 threads because supplies were limited and I liked that thickness.
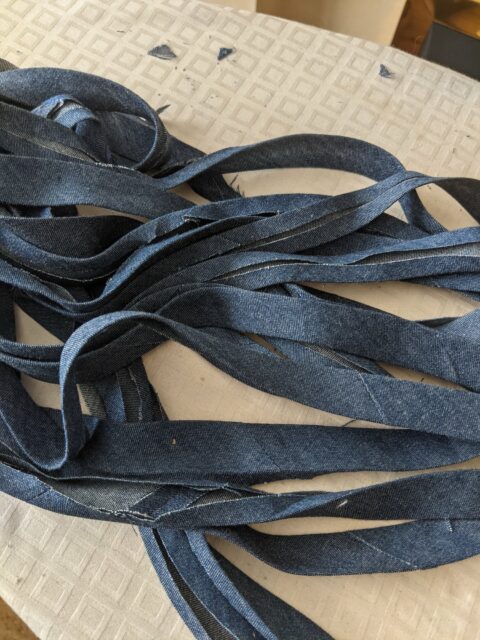
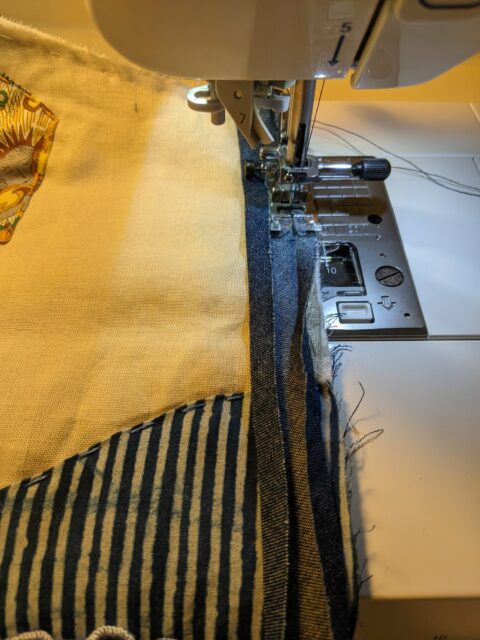
Bias, a lot of bias, to finish all the inner seam allowances, and edges all around the jacket. Obviously I made my own bias using the same fabric that I chose for the inner jacket.
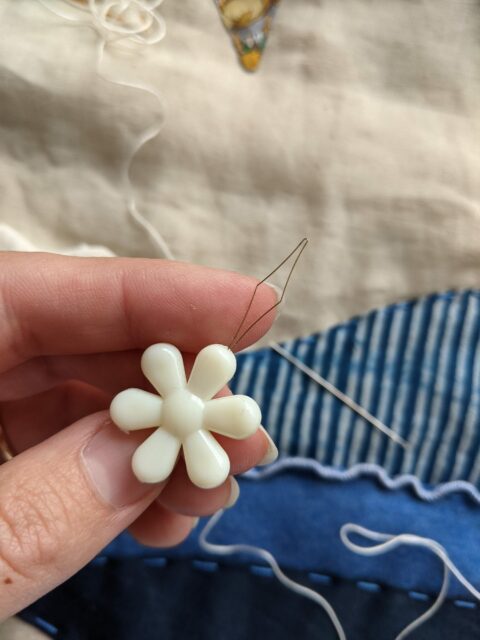
I don’t have special embroidery needles so I tried to pick one with a wide eye to get the embroidery thread through. I used a needle threader, which became my best friend during this project.
How did I make it?
Jacket pieces
Firstly I cut my pattern pieces in the 3 layers of the jacket: outer fabric, inner fabric, wadding. For each pattern piece, I basted the 3 layers together.
Appliques
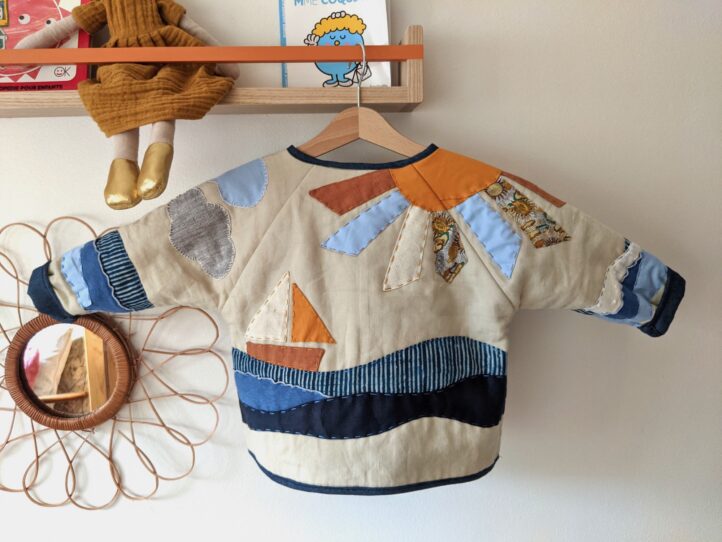
Before cutting my appliques, I drew them on my pattern pieces, sea, star fish, boat, etc, trying to make the seascape match on the jacket pieces.
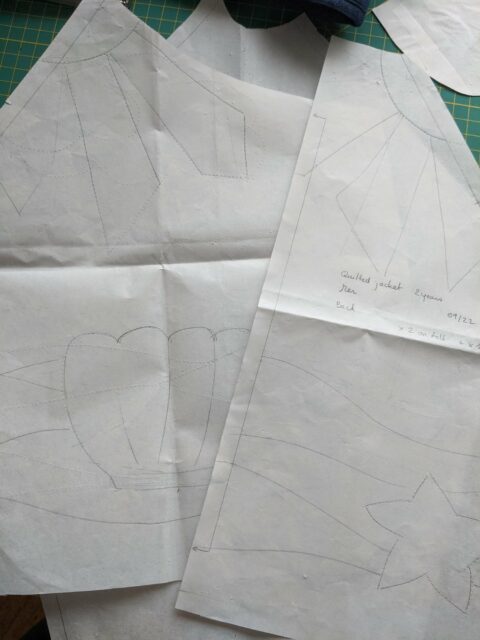
For instance the sun is present on one front, the sleeve and back.
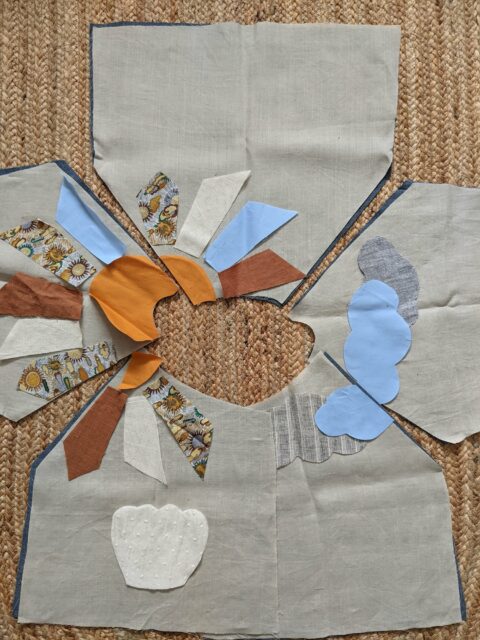
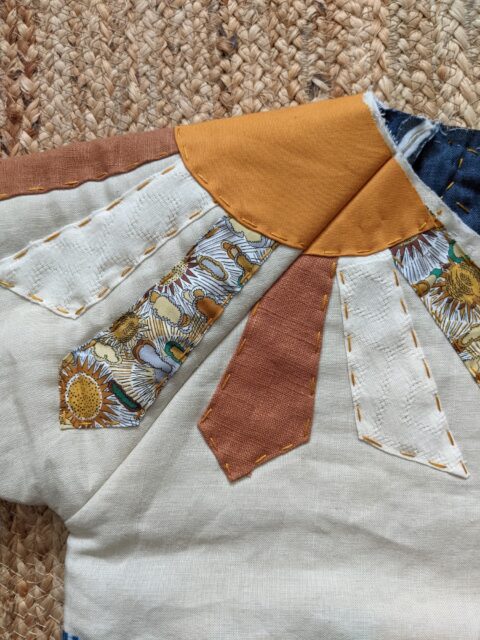
Then I traced each applique onto paper and added a 5mm seam allowance around. I made colour/fabric decisions by testing directly on the fabric to see what was looking good or not.
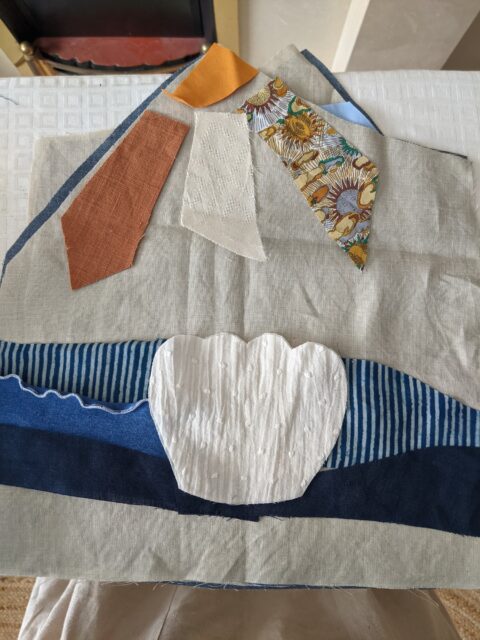
Once I cut my fabric appliques, I pinned them on the jacket and stitched the “easy” ones by folding the 5mm seam allowances, with a long straight stitch.
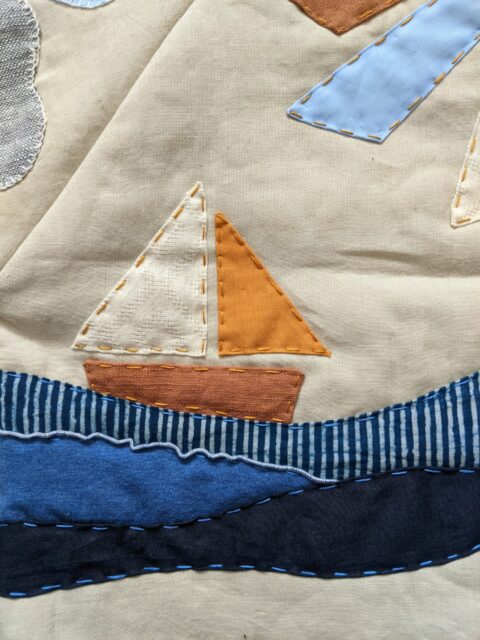
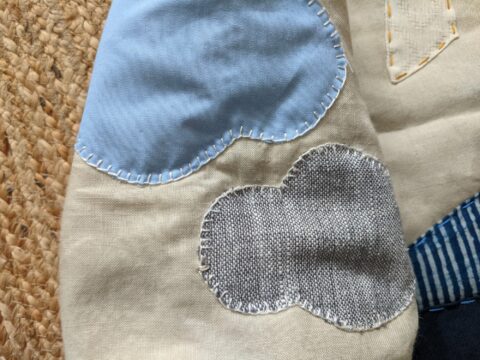
For some other pieces like the clouds and crab, it was more difficult to fold the margins because of their shapes, so in order to protect the raw edges I stitched them using a blanket stitch.
I really took a lot of care (and time) to stitch the appliques, and the result is very interesting inside the jacket, reminding the Sashiko technique. It’s not perfect, but really nice for a project like this! I was thinking of making more stitching lines in the jacket to get a better Sashiko-like style and a better quilting look, but I decided to stop there, because I find it gorgeous that way.
Time to put it together
Once the appliques were in place, I stitched the different pieces together, inserting the ties in the armhole seams. Then I finished all my inner seams with bias as well as all the edges of the jacket. It makes a completely reversible mini quilted jacket.
Looking back on the construction, I could have put it together differently, to have less seam allowances to cover with bias (armhole seams could have been slicker inside the jacket that way, the appliques could have matched better), but the result is ok, so this is noted for next time.
Conclusion (very academic title!)
The labour was intense and required precision, but I really enjoyed designing it and sewing it. It is like a mini seascape masterpiece!

This post is also available in French.


